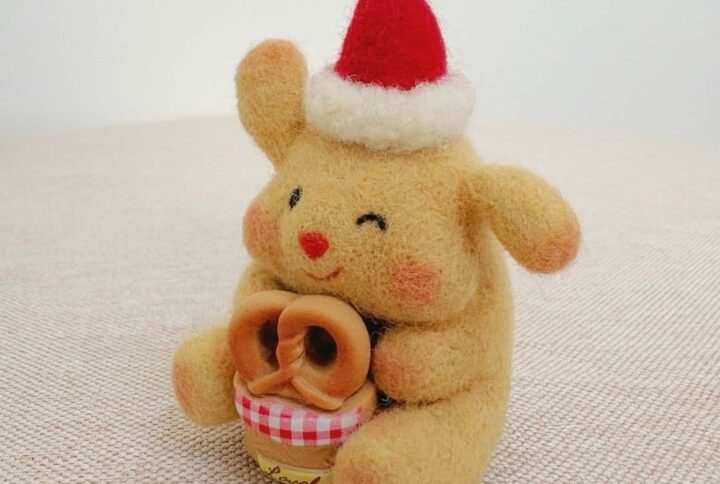
Your needle felting kits
Handcrafted
New Journey
Let’s create a unique wool needle felting doll …
FREE SHIPPING
on US orders over $50
100% SECURE
payments
1,900+
5-star reviews
How Does Needle Felting Work?
Needle felting is a fiber art that uses special barbed needles to tangle wool into firm shapes and detailed...
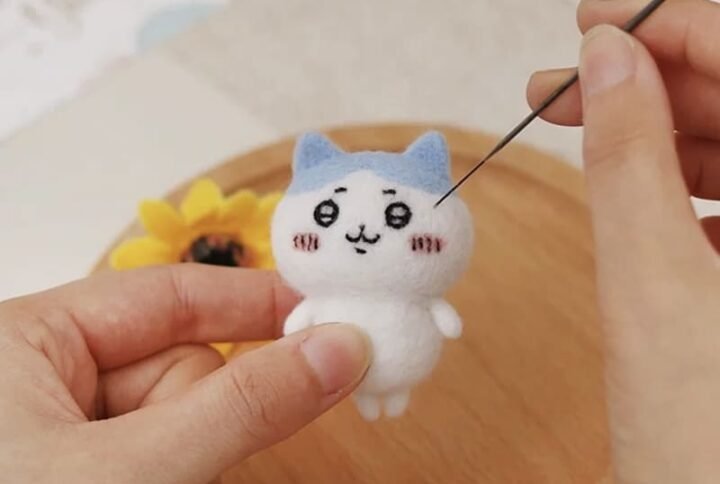
How is needle felting performed?
Needle Felting only requires wool strips, barb needles and felt pads. Put the wool on the pad and pierce...
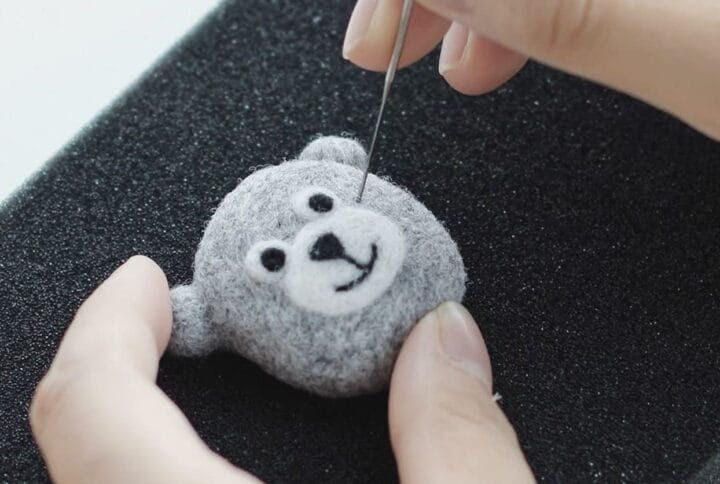
What is Needle Felting Used For?
Needle felting is a popular craft technique for making ornaments, felted dolls, jewelry, gifts and artistic sculptures. This article...
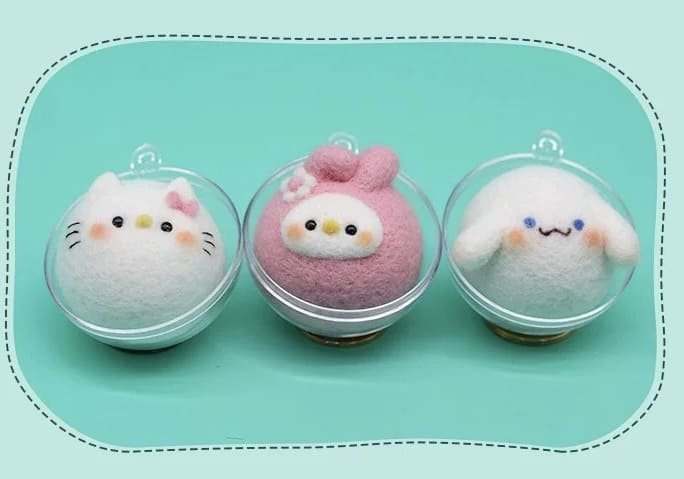
needle felting animals for beginners
As a beginner, choosing an animal as their starting project can be daunting. This guide offers suggestions of needle...
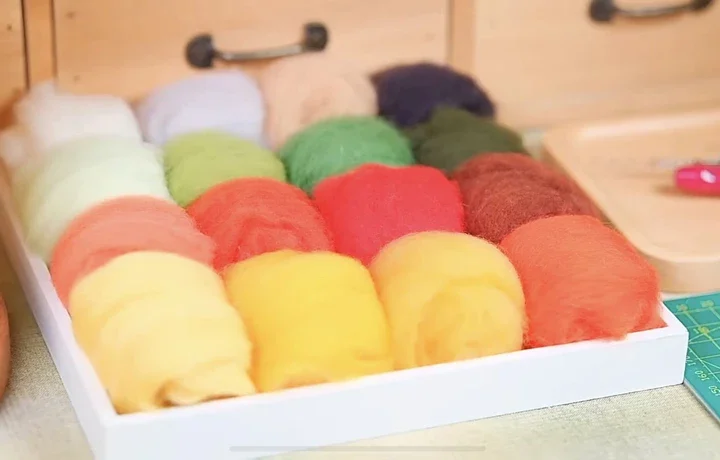
what is needle felting definition?
Needle felting is an artful craft made entirely by hand. In this article we describe its definition, required tools,...
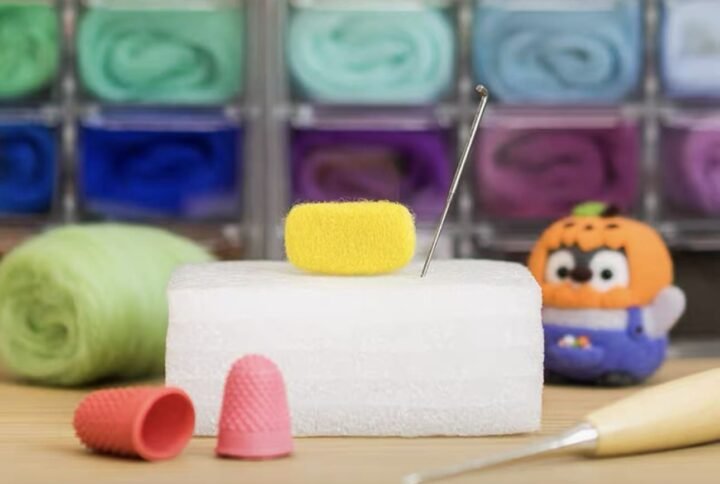
How To Do Needle Felting?
Needle felting is done by repeatedly piercing the wool fibers with a barbed needle to shape the wool into...
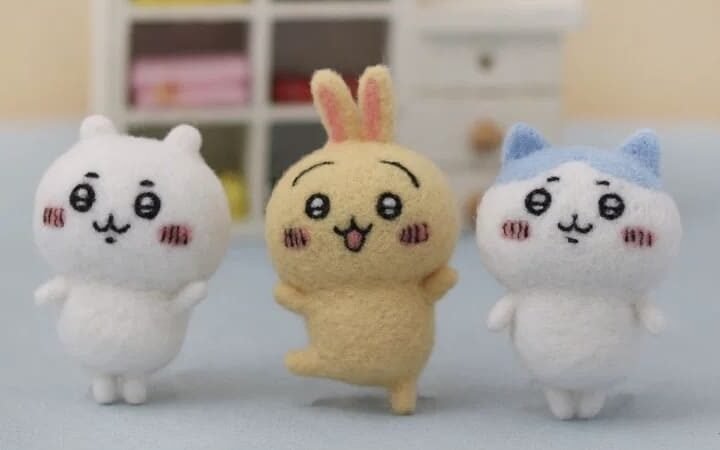
What is needle felting? for Beginners Faqs
Curious about needle felting? Learn what needle felting is, how it works, and what you need to start this...
How to get rid of needle marks in felting?
Reduce needle marks in felting by using fine needles (40+ gauge), shallow stabbing, and angled felting. Choose soft wool...
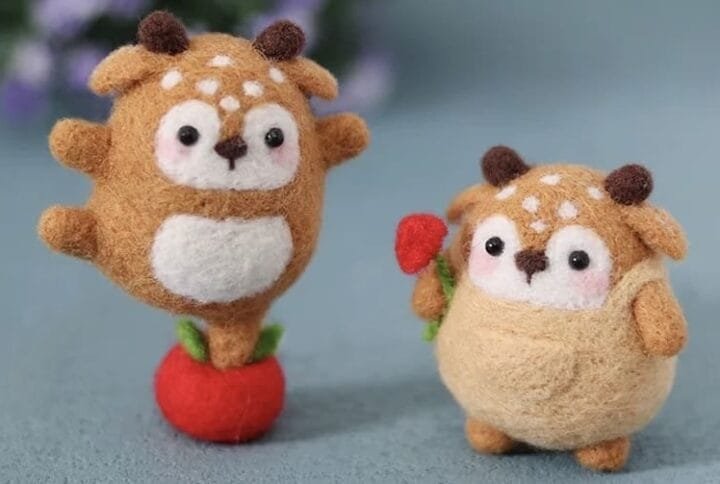
How Long Does It Take to Do Needle Felting?
It discusses the time required to complete needle felt works, analyzes in detail the impact of materials, skills, size...
What is the best mat for needle felting?
Best Mat for Needle Felting, Choosing the right mat enhances efficiency and protects needles. Wool felt mats are durable...
Customer Reviews
I chose a kitten template, and the clerk told me that the core of wool felt production is “poking, poking, poking”. As long as you follow the shape of the template...
Roshi Naruto
I just experienced handmade felt doll making, it was amazing! each of which was lifelike, colorful, and detailed, making people want to try it. The staff were super enthusiastic. Seeing that...
Damon Albarn
“I recently experienced handmade felt doll making, and it was great! The whole process was full of fun and a sense of accomplishment, which made me completely immersed in it. The atmosphere...
Linda
“I am very satisfied with this experience of making handmade wool felt dolls! The making process was full of fun and surprises from the beginning. The wool felt material is very...
Anana

Needle felting Faqs
What is needle felting?Needle felting is a craft technique that uses barbed needles to tangle and compact wool fibers into a solid, dense form. This process allows for the creation of 3D sculptures, 2D designs on fabric, and textured additions to quilts or clothing. The needles have notches that snag the wool fibers, causing them to mat together as the needle is repeatedly inserted and withdrawn. Needle felting is versatile and can be used with various animal fibers, making it a popular method for creating lifelike sculptures and decorative items.
Needle felting is usually not considered difficult for beginners who learn basic techniques. Although mastery takes patience and practice, needle felting can be enjoyable and satisfying if done correctly; common challenges include using felting needles properly to prevent breakage as well as providing safety from any sharp needles that might puncture skin during use. Beginning with simple projects can build confidence and skills quickly so it becomes easier to move onto more intricate creations with practice and proper guidance and safety precautions in place – anyone can learn needle felting.
Needle felting is an engaging creative process involving using barbed needles to manipulate wool fibers into firm shapes with barbed needles. Here is a step-by-step guide for beginners:
Materials Needed
Wool: When felting, select wool that contains microscalar scales which help lock together fibers more securely than other varieties.
Felting Needles: For initial shaping use coarse needles while fine needles should be reserved for final touches.
Cushion or Foam: Cushion your work surface from accidental falls while preventing accidents from happening.
Band-Aids: Are useful safety precautions should pricks occur by accident.
Basic Steps
Prepare the Wool
Shape it into desired forms such as balls or ovals before rolling.Felting Process
Once on the cushion, hold the wool firmly against it while repeatedly stabbing with a felting needle to achieve felting effect, moving straight up and down so as to prevent breakage of felt fibers.Shaping and Refining
Once the wool becomes firm, continue felting to achieve your desired shape using templates if necessary.Putting It All Together
For final touches use fine needles to smooth out its surface while gently rubbing wool against your hands so as to cover any holes or irregularities in its surface.
For beginners: Consider starting off by creating simple shapes like balls or ovals before progressing further with more complex ones like balls and pyramids.
To start off with, use less wool as it is easier to add than remove excess.
Take your time and be patient as needle felting is a process that takes practice and patience.
Needle Felting Workings
Needle felting is a process in which barbed needles are used to mat and shape wool fibers into desired forms. Here’s how it works:
Basic Principle
Wool Fibers
Wool’s microscopic scales help it lock together when it is agitated, helping the fibers lock into place easily when matted together.
Barbed Needles
Needle tips equipped with small barbs can trap and tangle wool fibers as they are inserted and removed from wool tufts, creating initial tangles when introduced into wool piles. When the needle enters wool piles, its barbs catch fibers, pulling them together and creating knots in their paths, creating initial tangles….
2. Fiber Matting
Stabbing wool repeatedly with the needle causes its fibers to mat and become entangled, creating a solid shape.
3. Shape Formation
As more dense fibers pack together, wool begins to hold its form more securely, enabling creation of various forms and designs.
Key Factors
Needles Type: Coarse needles should be used for initial shaping while finer needles can be used for details and smoothing.
Wool Type: Selecting the proper wool is of vital importance – its fibers must lock together easily without matting together too easily or being damaged easily during use, giving a professional result.
Wool fibers create firm, durable and decorative objects such as animals, ornaments or jewelry made entirely of wool fibers.
Needle Felting Animals for Beginners
Want to know how to needle felt animals for beginners? Here is an introduction guide with all of the materials necessary.
A Beginners Kit
Wool Roving or Fibers: Choose Merino or Corriedale wool as it is best-suited for felting, using coarse needles for initial shaping and fine needles for details.
Felting Needles: For initial shaping use coarse needles while finer needles should be used later for details.
Cushion or Foam Pad: Protects your work surface.
Armature (optional): Wire or pipe cleaners can provide structure.
Basic Steps for Felting
Start With Basic Shapes
Break down an animal into its core components such as spheres or cylinders.Layer Wool and Felt
Use coarse needles to secure wool to an armature or shape and gradually add more wool and felt until your desired form has taken form.Refine and Detail
Switch to finer needles to smooth and add details like eyes, noses and fur texture.Embellish
Switch back to coarse needles if your creation requires further embellishments like glass eyes or sculpted noses for additional embellishments to your masterpiece.
Tips for Beginners
Start With Simple Projects: For starters, consider animals such as sheep or penguins before progressing onto more complex designs.
Utilise Kits: Etsy offers beginner kits which provide guidance and materials.
Practice Patience: Needle felting can take time so be sure to set aside breaks between sessions in order to take your time with it and stay patient!
Needle Felting Animals: A Step-by-Step Guide
Needle felting animals involves using barbed needles to shape and mat wool fibers into desired forms. Here’s a simplified guide:
Materials Needed
• Wool Roving or Fibers: Choose wool suitable for felting.
• Felting Needles: Coarse for initial shaping, fine for details.
• Felting Cushion or Foam Pad: Protects your work surface.
• Armature (Optional): Wire or pipe cleaners for structure.
• Glass Eyes or Beads: For realistic details.
Basic Steps
Create an Armature (If Using)
• Use wire or pipe cleaners to create the basic shape of the animal, ensuring all ends are folded in to avoid poking through the wool.Cover with Wool
• Wrap coarse wool roving around the armature or shape, using a coarse felting needle to secure it.Shape and Refine
• Continue felting with finer needles to add layers of merino wool, shaping the body, head, and limbs.Add Details
• Use fine needles to add eyes, nose, mouth, and any other details like whiskers or fur texture.Final Touches
• Ensure all parts are securely attached and smooth out any unevenness.
Tips
• Start Simple: Begin with basic shapes or animals like sheep or penguins before moving to more complex ones.
• Use Tutorials: Follow video tutorials or guides for specific animals to learn techniques and details.


NATREGTEGH233485NEHTYHYHTR
The store’s service is also very good. I asked customer service a question and they responded to me very quickly and explained it to me patiently, which made me feel very caring.
Mike Svein Svensson
I made a little rabbit ornament using needle felting. It is very cute when placed on the desk. I feel good every time I see it. Moreover, this work is made by myself, which makes it more meaningful to me.
JoshuaNipsy
The packaging of this needle felting tool box is also very beautiful, and it is very face-saving to give it to others. I plan to buy another set for a friend so that she can also experience the fun of wool felting.
Mike Vincent Jansen
I found that needle felting can be used to make many interesting things, such as mobile phone cases, coasters, key chains, etc. I plan to continue learning more shapes and make more practical and beautiful works.
Karin Doucette
This needle felting tool kit has sparked my great interest in wool felting. I will continue to buy more wool and tools in the future to continuously improve my skills and create more exquisite works.
Timothysew
I think needle felting is a very interesting manual activity. It not only exercises hands-on ability, but also allows one to use their imagination and creativity to create unique works. I like it very much.
tokarnyy_btSi
I was truly amazed by the quality of the wool. It’s soft and elastic, yet completely frizz-free. During the needle felting process, the wool is perfectly pinned in place, preventing any looseness. I used it to make a felt handbag, which is not only exquisite in appearance but also incredibly durable. This gave me a whole new appreciation for the practicality of felt.
Jenni Prosser
The wool colors in the needle felting kit are cleverly matched. Each color is like a carefully selected work of art. Whether used alone or mixed and matched, you can easily create visually striking works. I used it to make a colorful wool felt tapestry and hung it in the living room. It instantly became the focus of the whole room, and my friends all praised it.
Eleanore Horne
The needles in this needle felting kit are designed to be user-friendly. Their sharp tips and non-slip handles prevent hand fatigue, even during extended sessions. Furthermore, the needles have just the right amount of hardness, allowing them to easily move the wool without breaking. I used them to create a complex felt sculpture without any technical issues, which greatly boosted my confidence in needle felting.
Dizaynersk_gsKl
The tutorial is incredibly detailed, featuring not only text instructions but also high-definition images and video demonstrations. Even a beginner like me could easily follow along and learn the techniques of needle felting. I followed the tutorial to create a small felted animal. Although my first attempt was a bit awkward, the tutorial’s guidance helped me quickly grasp the key points, and I was very pleased with the final product.