Needle Felting Faqs

FAQ1: what is needle felting?

Needle Felting is a dry felt process that repeatedly pierces the wool fiber with a special needle with a barb, so that the fiber is wound and compacted, thus forming a shape.
FAQ2: Is needle felting difficult?

Needle felting is generally not considered difficult, but it does require patience and practice. The technique involves using barbed needles to shape wool into desired forms, which can be time-consuming and may lead to mistakes like breaking needles or stabbing oneself.
Beginners often find it challenging to master the correct needle usage and safety precautions, but with basic techniques and practice, it becomes easier. Starting with simple projects is recommended to build confidence and skills before moving to more complex ones.
The basic principle of needle felt: mechanical felting
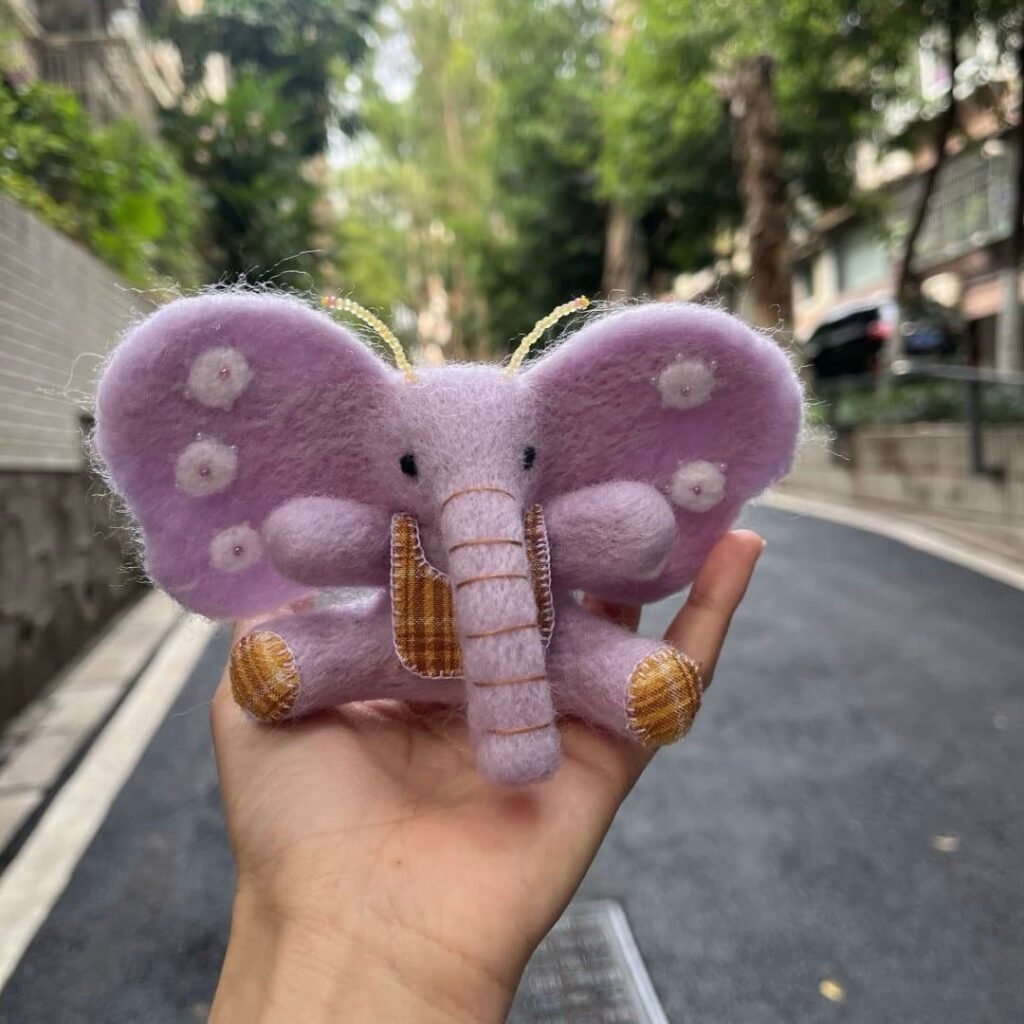
How does needle felting work? Needle felt is to repeatedly pierce wool with a crochet hook to entangle and tighten the fibers, thus forming a strong structure without the need for water and soap.
FAQ3: How old is needle felting?
Needle felting as an artform dates back only to the 1980s. Pioneered by David and Eleanor Stanwood, who used industrial felting techniques adapted by them to produce handmade felt using barbed needles without water or soap, but with evidence dating back 7,000 years in Central Asia as evidence for felt-making practices.
FAQ4: How to do needle felting?
Basic Steps for Needle Felting
1. Gather Supplies:
• Wool Roving: Choose wool suitable for felting, like Romney or Icelandic wool.
• Felting Needles: Use barbed needles specifically designed for felting.
• Felting Cushion or Pad: A wool felting cushion is recommended for better results.
• Finger Protectors: Optional for safety.
Needle felting video
2. Prepare the Wool:
• Thin out the wool roving by gently pulling it apart until it’s almost transparent.
3. Begin Felting:
• Place a thin layer of wool on the felting cushion.
• Use the felting needle to poke through the wool, keeping the needle straight and moving it in and out without twisting.
• Repeat this process across the entire surface.
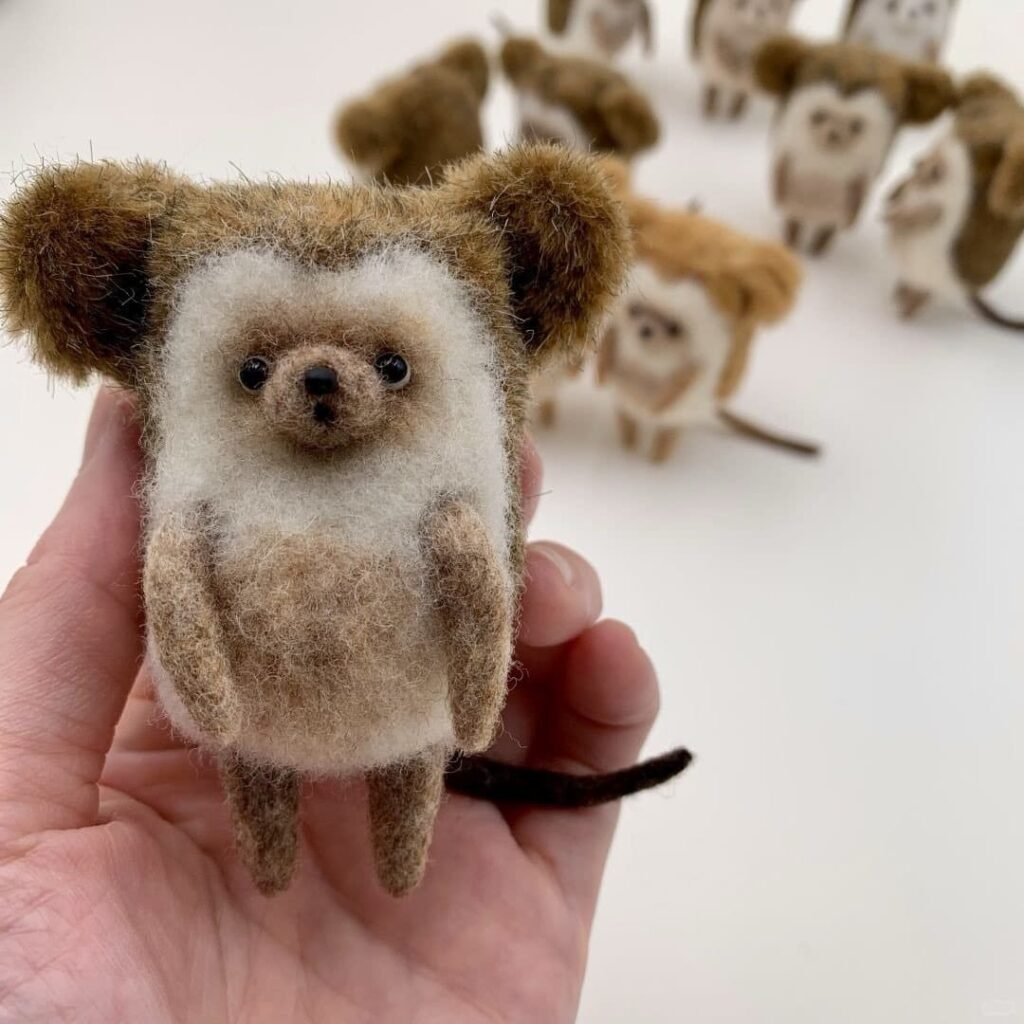
4. Shape and Refine:
• Continue felting until the wool is matted and holds its shape.
• Use cookie cutters or molds to create specific shapes.
• Flip and felt the other side for evenness.
5. Add Layers and Details:
• Add more wool layers for thickness or to create details like eyes or patterns.
• Use different colors to embellish your project.
6. Test and Finish:
• Gently pull at the felt to ensure it doesn’t come apart.
• Once firm, your project is complete.
FAQ5: How long does needle felting take?
Needle felting is an extremely variable process depending on its size and complexity; small projects often take one to three hours while more intricate ones could take four to eight. Larger or complex projects involving numerous parts might take days or even weeks (sometimes up to 80+ for intricate sculptures! ); skill also plays an integral part; novice felters tend to take longer than experienced crafters in completion time.
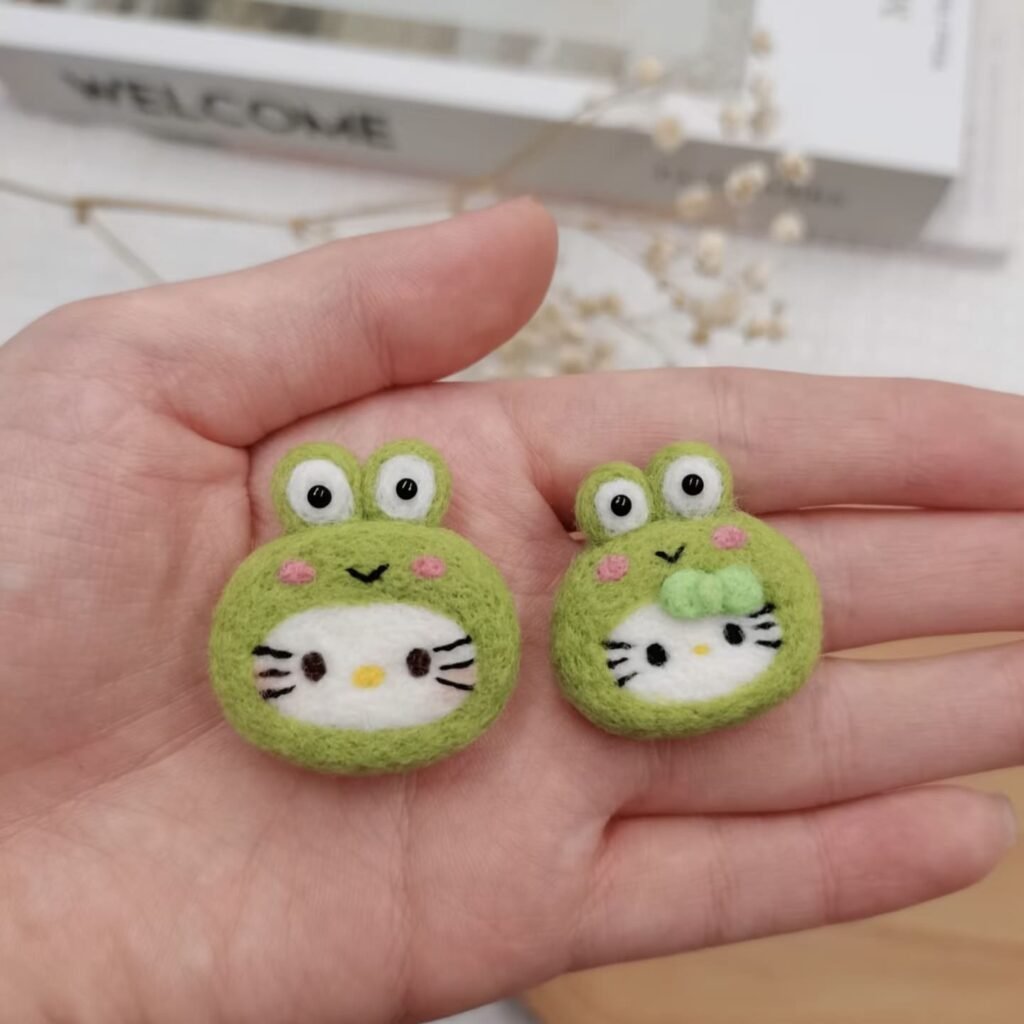


FAQ6: How do you needle felt for beginners?
Needle Felting for Beginners
Essential Tools and Materials:
• Wool Roving: Choose wool suitable for felting, like Romney or Icelandic wool. Avoid Superwash wool.
• Felting Needles: Use barbed needles, available in various gauges. Coarse needles are good for beginners.
• Felting Cushion: A wool felting cushion is recommended over foam for better results.
• Finger Protectors: Optional for safety.
Basic Steps:
1. Prepare the Wool
• Thin out the wool roving by gently pulling it apart.
2. Roll the Wool
• Roll the wool tightly into the desired shape, like a ball or oval.
3. Felting Process
• Place the wool on the felting cushion.
• Use the felting needle to poke through the wool, keeping the needle straight and moving it in and out without twisting.
• Repeat this process across the entire surface.
4. Shape and Refine
• Continue felting until the wool is matted and holds its shape.
• Use cookie cutters or molds for specific shapes.
5. Add Layers and Details
• Add more wool for thickness or details like eyes or patterns.
• Use different colors to embellish your project.
Tips for Beginners:
•Start Small: Begin with simple projects to build confidence.
•Use the Right Tools: Invest in a good felting cushion and needles.
•Take Breaks: Step away and come back with fresh eyes.
•Practice Safety: Stab straight up and down to avoid breaking needles or injuring yourself.
FAQ7: How to needle felt animals for beginners?
Needle Felting Animals for Beginners
Essential Supplies:
• Wool Roving: Choose wool suitable for felting, like Romney or Icelandic wool.
• Felting Needles: Use barbed needles, typically 38 or 40 gauge for beginners.
• Felting Cushion: A wool felting cushion is recommended.
• Pipe Cleaners: For creating armatures.
• Craft Eyes or Beads: For details.
Basic Steps:
1. Create an Armature
• Use pipe cleaners to form the basic shape of the animal (e.g., body, legs, tail).
• Fold over the ends to prevent sharp edges.
2. Wrap with Wool
• Thin out wool roving and wrap it around the pipe cleaner armature.
• Secure with felting needles.
3. Shape and Refine
• Continue felting until the wool is matted and holds its shape.
• Use needles to shape the body, head, and other features.
4. Add Details
• Use fine needles for details like eyes, nose, and mouth.
• Add layers of colored wool for fur texture.
5. Final Touches
• Ensure all parts are securely attached.
• Adjust any details as needed.
Tips for Beginners:
• Start Simple: Begin with basic shapes and simple animals.
• Practice Safety: Use finger protectors and stab straight up and down.
• Watch Tutorials: Visual guides can help with technique and inspiration.
FAQ8: Is felting easier than crocheting?
Does felting take less skill to achieve than crocheting?
Needle felting is often considered easier for beginners to pick up than crocheting; however, each craft presents its own set of learning challenges and difficulties.
Needle felting is often seen as easier for beginners to pick up than crocheting; however, each craft presents its own learning curve and set of challenges.
Why Needle Felting Is Often Easier
Why Needle Felting Is Often Easier?
Needle felting involves repeatedly stabbing wool with a special barbed needle to interlock fibers and create shapes. This process is intuitive and does not require learning complex stitch patterns or techniques before making something recognizable. Beginners can quickly make simple shapes like balls or basic figures without prior experience.
• The technique is forgiving: mistakes can be easily fixed by adding or removing wool, and there are no strict rules about stitch order or tension. This freedom allows for creativity and experimentation from the start.
• The materials needed are minimal and straightforward: wool roving, felting needles, and a foam pad. This simplicity makes it easy to gather supplies and begin crafting quickly.
• Because needle felting is more like sculpting or drawing with wool, it can be less frustrating for those who find the hand movements and coordination required for crochet confusing or difficult.
Why Crocheting May Be More Challenging Initially?
• Crochet requires learning specific stitches (e.g., chain, single crochet, double crochet) and mastering yarn tension and hook handling. These skills take practice and can be confusing at first, especially for those new to yarn crafts.
• Crochet projects often follow patterns that require sequential steps and precision, which can be intimidating for beginners who are not yet comfortable with the techniques.
• While crochet offers great versatility and the ability to create functional items like clothing and blankets, the initial learning curve is steeper compared to needle felting.
Additional Considerations?
• Needle felting requires patience for shaping and can be time-consuming for detailed work, but it is very forgiving and suitable for creative sculpting.
• Crocheting offers more pattern variety and the ability to replicate complex designs once the basics are mastered.
• Safety is a concern with needle felting because the needles are sharp and can cause injury if not handled carefully.
In conclusion, needle felting is generally easier to pick up and start creating with minimal instruction, making it a good choice for beginners or those who prefer a more freeform craft. Crocheting, while more challenging initially, offers greater versatility and the ability to produce a wider range of functional items once learned.



Sophia Anderson
This is my second time purchasing needle felting products, and the overall experience has been very interesting and rewarding.
katy
The introduction is very detailed, I know what needle felting is, and it looks pretty good.