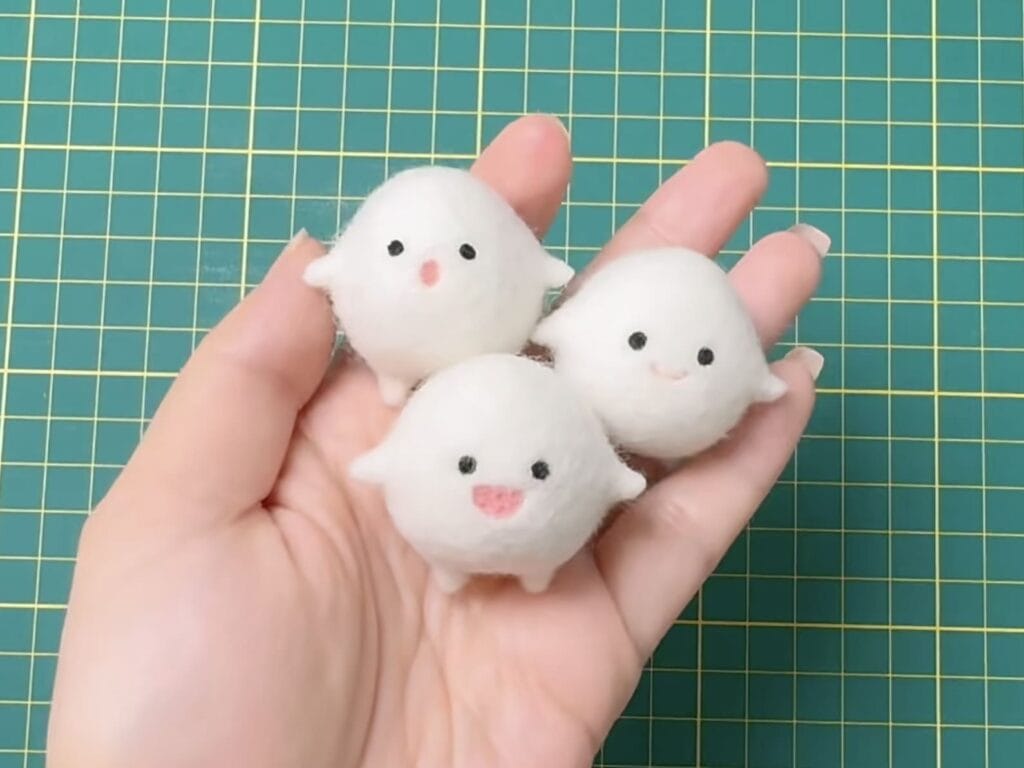
Wow! Are you about to step into the wonderful world of needle felting dolls? That’s truly an amazing choice! When those fluffy wool fibers gradually transform into adorable little creatures right in your hands, the sense of achievement is really indescribable in words! However, just like when we first learn any new skill, there might be some little “stumbling blocks” on the way to getting started with needle felting. Don’t panic—it’s totally normal. Who hasn’t fallen into a few pitfalls while learning something new? Today, I’m here to talk about the most common mistakes beginners make in needle felting and give you a “heads-up” in advance, so you can avoid detours and smoothly create works you’re super satisfied with!
Mistake 1: Impatience Leads to Poor Felting – “Fast-Forward” Felting
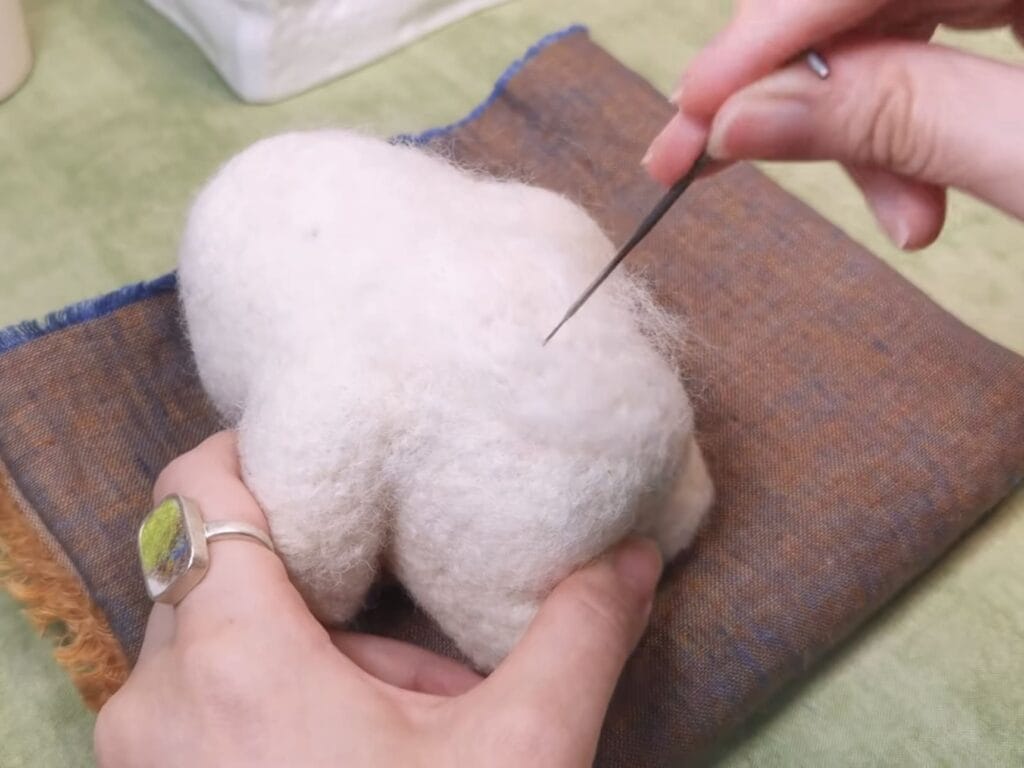
Many beginners probably make this mistake when they first start needle felting: being too impatient and hoping to shape the wool in the blink of an eye. The result? Either they can’t control the force, and the needle snaps with a “click,” or the surface ends up uneven and messy, with fibers all tangled and no aesthetic appeal.
What’s the Issue?
Newbies often crave quick results and overlook that needle felting is a gradual process. They also don’t know how to control the force, thinking that the harder they push, the faster it will felt. Plus, if the angle of the needle isn’t vertical, the risk of breaking the needle is even higher.
How to Fix It?
First, slow down and remember that “good things come to those who wait.” Be patient and stab slowly and rhythmically, feeling the gradual change in the fibers. Use your wrist strength, gentle and rhythmic, not brute force. Also, ensure the needle enters and exits the wool vertically. It’s recommended to start with a small amount of wool and gradually increase the quantity once you’ve mastered the force and angle control.
Mistake 2: Inconsistent Angles – “Crooked” Stabbing
Don’t underestimate the importance of the angle when stabbing with a felting needle! If the angle is off, not only is the needle more likely to break, but the felting effect will also be poor, making the surface of your work look rough and uneven.
What’s the Root Cause?
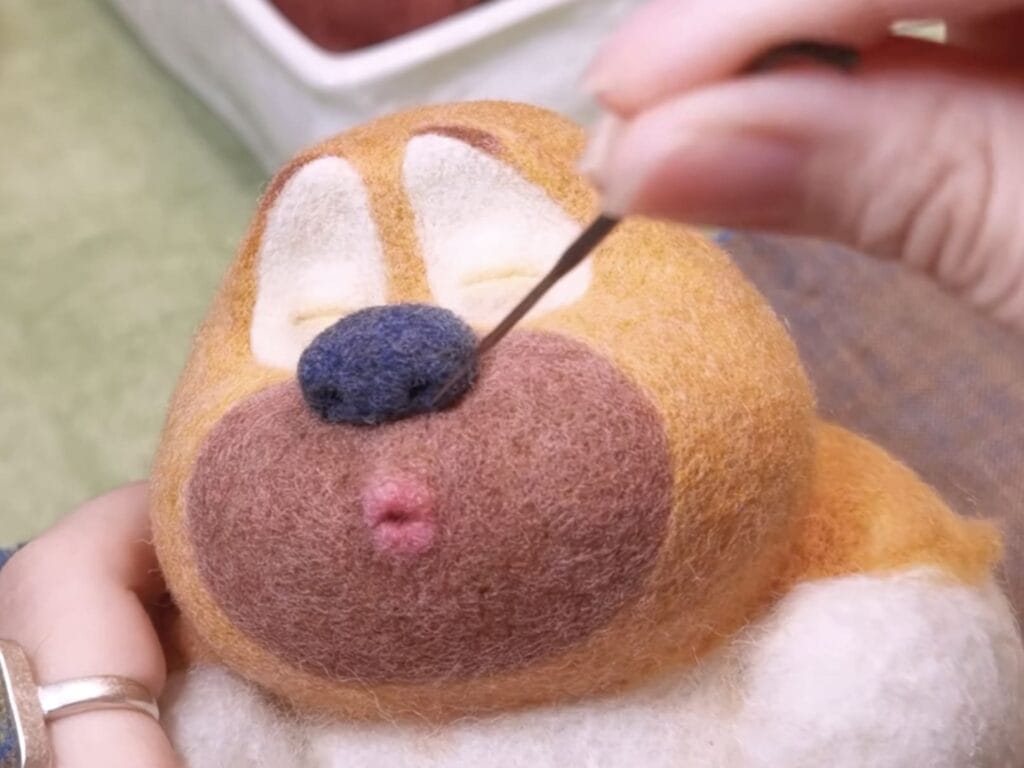
Stabbing at random angles—sometimes slanted, sometimes crooked—causes uneven force on the needle. When stabbing at an angle, the needle is more likely to break due to lateral force. Moreover, fibers won’t interlock effectively if the angle isn’t vertical, resulting in poor felting.
What to Do?
Always keep the needle perpendicular (90 degrees) to the surface of your work. Try to stabilize your wrist to avoid “wandering” angles during stabbing. You can also check the needle holes—if they’re slanted, adjust your angle immediately.
Mistake 3: Overloading on Wool – Taking Too Much at Once
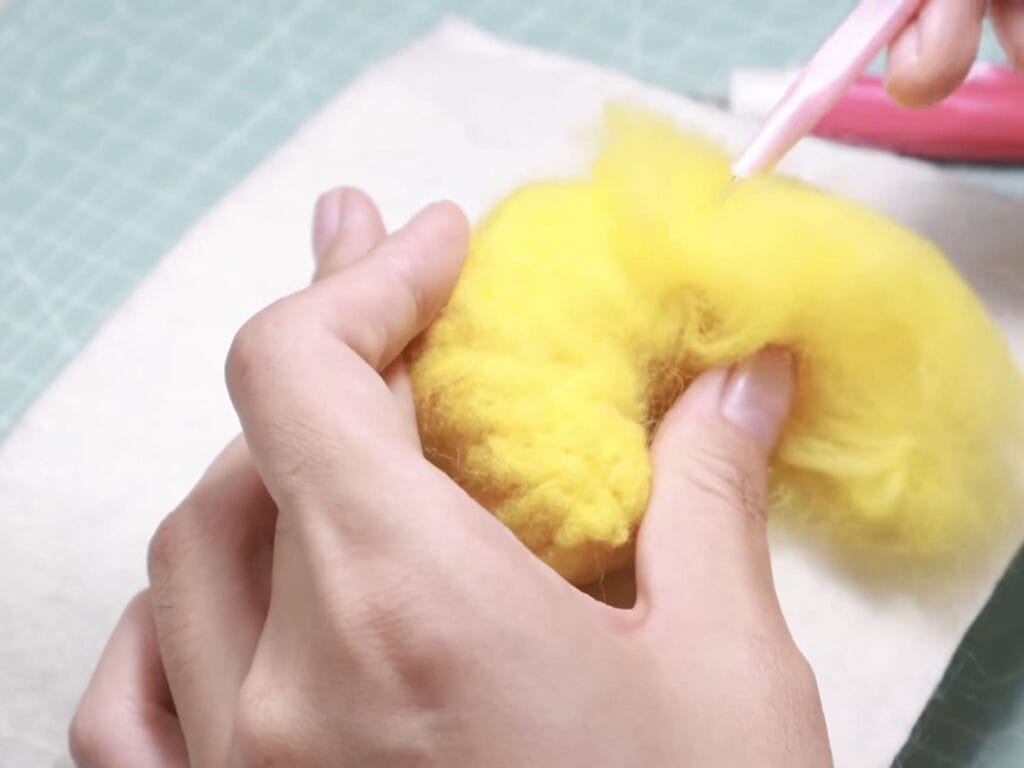
Some might think that grabbing more wool at once will increase efficiency. But in reality, it backfires. Too much wool makes it difficult for the needle to penetrate and tangle the fibers effectively. The felting process slows down, and your fingers will get sore from the extra effort.
What’s the Problem?
Too much wool makes it hard to felt the inner fibers, reducing efficiency. The increased resistance also makes stabbing tiring and can lead to fatigue. Moreover, it’s challenging to shape details accurately with too much wool.
How to Solve It?
Take small amounts of wool each time and gradually build up the shape, following the “little by little” principle. You can felt the outer layer first and then work your way inward, layer by layer. Adjust the amount of wool based on the size and complexity of your project.
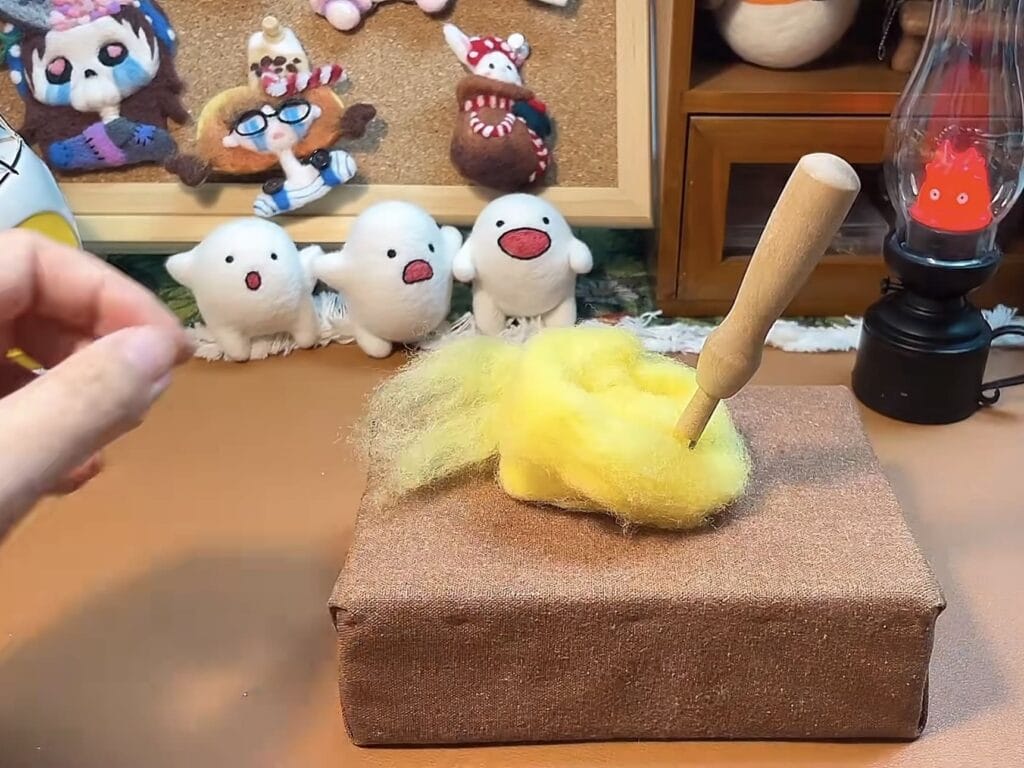
Mistake 4: Uneven Felting – Under-Felting Overall
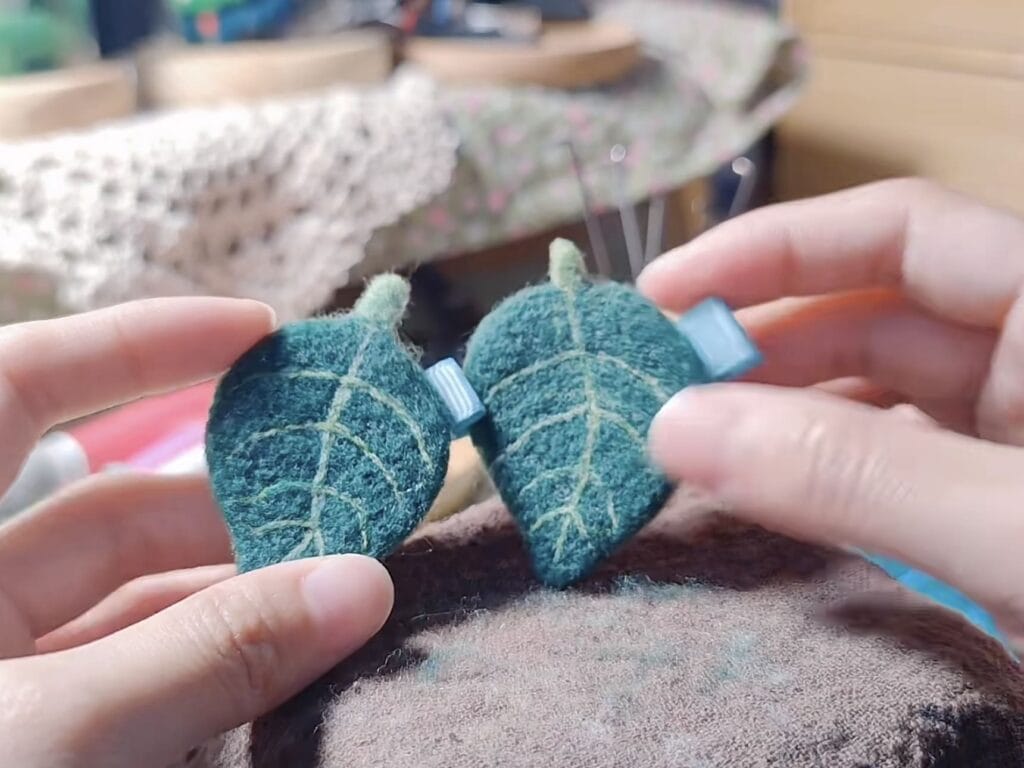
Some beginners stop stabbing when the surface “seems” hard, thinking they’re done. But the result is a soft, loose structure that deforms easily and falls apart quickly. This is a classic case of under-felting.
Why Does This Happen?
Focusing only on surface hardness while ignoring the felting of inner fibers can be misleading. Uneven felting, with some areas fully felted and others not, leads to an unstable structure. Ultimately, it’s a lack of patience and insufficient felting time.
How to Improve?
Check not just the surface but also the hardness and elasticity throughout the piece. If it still feels soft, keep felting. Pay special attention to areas prone to looseness, like limb joints and the connection between head and body. Adjust felting time based on the size of the project and the thickness of the wool to ensure thorough felting.
Mistake 5: Overlooking Shaping and Details – The Devil Is in the Details
A successful needle felted doll needs a solid felting foundation, but precise shaping and attention to detail are equally crucial! If you only focus on hardening the wool and neglect to adjust the shape and carve out details, your work will look stiff, rough, and lifeless.
What’s the Issue?
Disproportionate overall shape, rough lines, and lack of aesthetic appeal. Poorly handled details like facial features and hair affect the work’s precision and liveliness. Without necessary trimming and finishing touches, the final product looks sloppy.
How to Fix It?
During felting, constantly shape the piece by pinching with your fingers and refining with the needle to achieve smooth lines and proportional balance. For details like facial features and hair, be patient and use finer needles (like 40-gauge or higher) to bring your work to life. After completion, trim stray fibers with scissors and gently smooth the surface by hand for a polished finish.

Mistake 6: Going “Barehanded” – Lack of Safety Measures
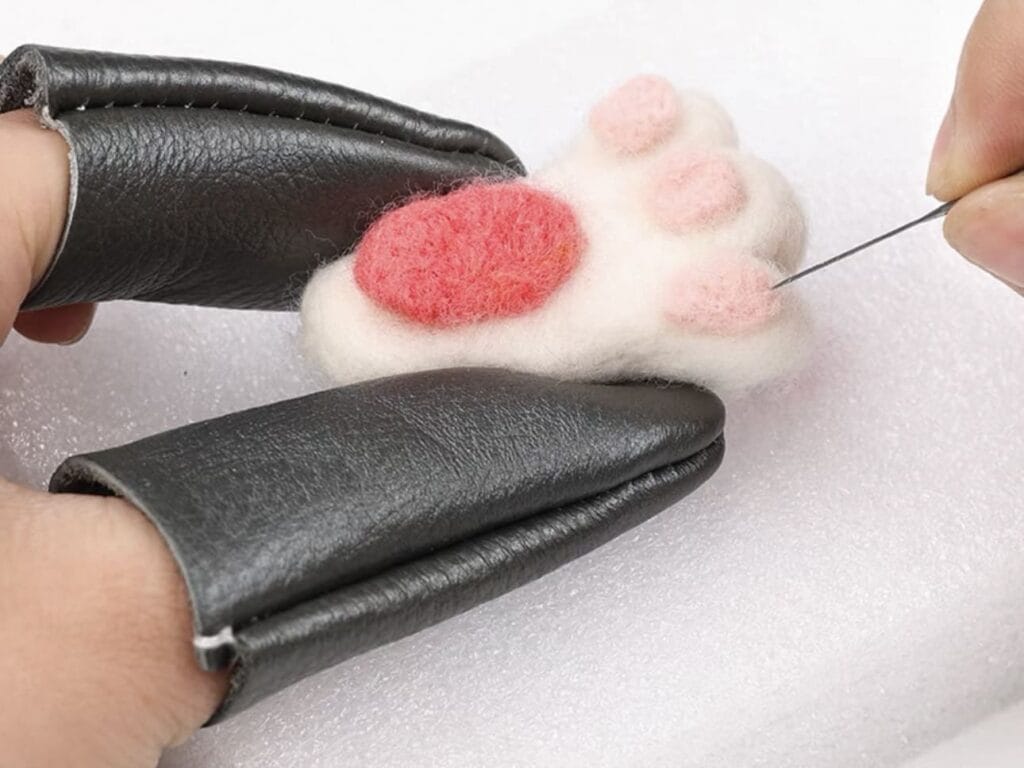
Needle felting needles are extremely sharp! Many beginners often accidentally prick their fingers during the process. Although these are minor injuries, frequent pricks can be painful. More importantly, accidental pricks can contaminate your work.
What’s the Problem?
Weak safety awareness and lack of protective measures. Irregular handling, with fingers too close to the needle or excessive hand movement, increases the risk.
What to Do?
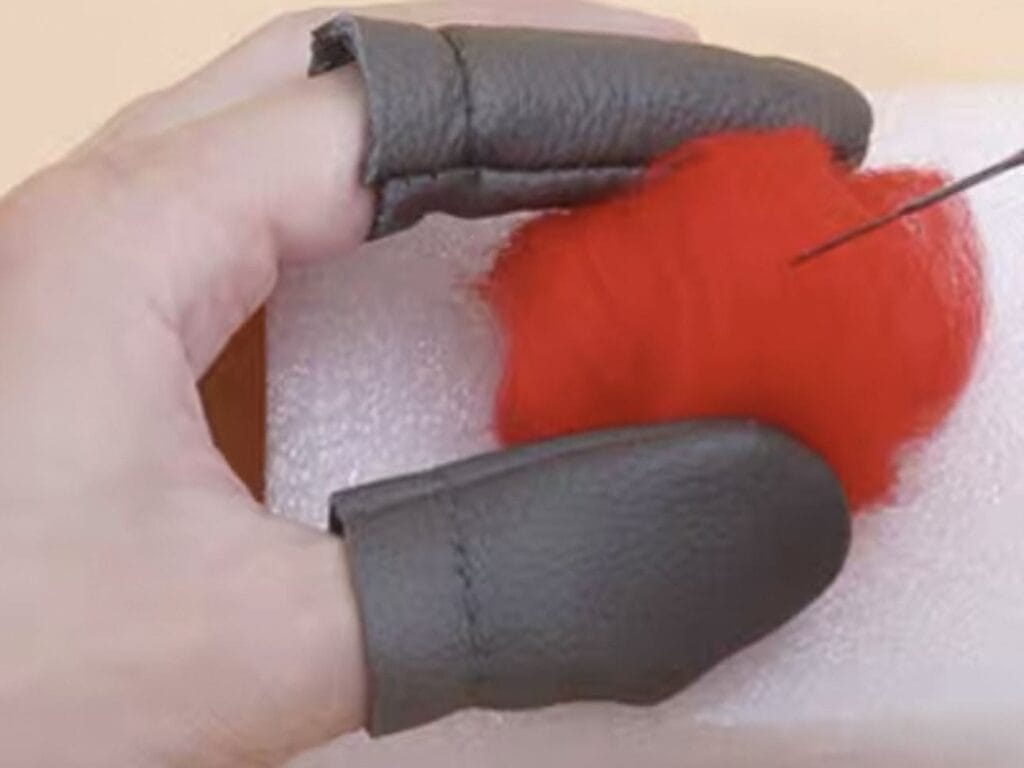
Strongly recommend wearing a finger protector to effectively shield your fingers from needle pricks. Keep your fingers away from the needle tip and control your hand movement. Always store felting needles properly when not in use to prevent accidental injuries.
Final Thoughts:
Needle felting is truly a fascinating craft! Making mistakes and facing setbacks during the learning process is normal. The key is to learn from these mistakes, continuously summarize experience, and gradually improve your skills. I sincerely hope this article helps you avoid common pitfalls and makes your needle felting journey smoother. Cheer up! I’m looking forward to seeing more adorable needle felted dolls created by you! 😊
