Needle Felting FAQS
How to Get a Smooth Finish in Needle Felting

Introduction
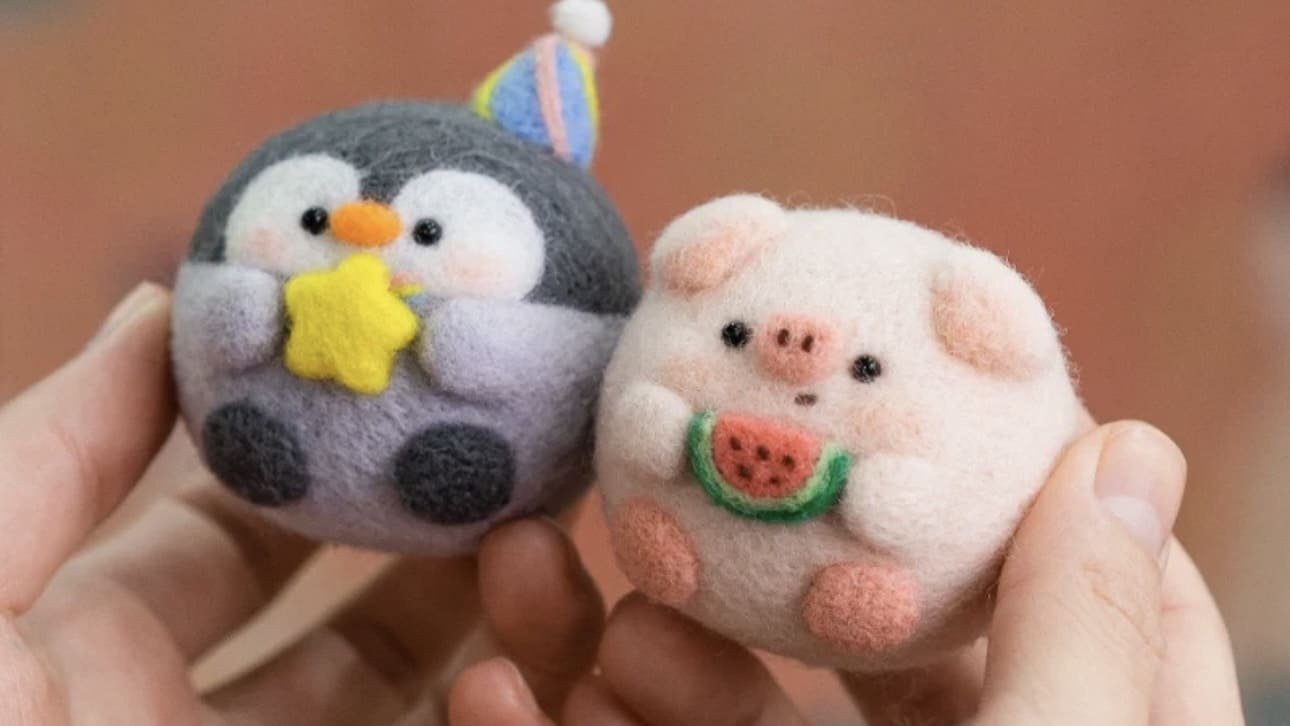
Achieving a smooth finish in needle felting requires attention to several key factors throughout the entire process. Here’s a comprehensive guide to help you eliminate fuzziness and achieve that professional-looking smooth surface.
Wool Selection
The type of wool you choose significantly impacts the smoothness of your finished piece:
- Romney Wool: Excellent for achieving a smooth finish as it gets dense and solid quickly with minimal fuzzies.
- Jacob Wool: Also good but requires more felting time to achieve smoothness.
- Icelandic Wool: Tends to have stray hairs that may need trimming or plucking.
- Merino Wool: Soft and fine, giving a naturally smoother appearance, but can show holes when using merino tops (long fibers going in the same direction).
Needle Selection and Technique
Using the right needles at different stages is crucial:
- Start with thicker needles (lower gauge numbers like 36) for creating the core shape.
- Progress to thinner needles (higher gauge numbers like 38, 40, 42) for firming and finishing work.
- Specialty needles such as spiral or twisted needles can be effective for smoothing surfaces.
- Shallow felting is key for final smoothing—only use the thin tip of your needle and felt at a 45-degree angle rather than straight down (90 degrees) to show fewer holes.
Density and Firmness
- Make your wool as dense as possible from the start—when finished, it should feel solid and not squish beneath your fingers.
- A properly felted piece should have minimal air inside, giving stray fibers something to cling to.
- Even out any dips by adding small amounts of wool to create a level surface.
Finishing Techniques
If you still have fuzziness after thorough felting, try these methods:
- Hand rubbing: Carefully rub the surface with your hands; the warmth and movement will help manipulate fibers over holes.
- Trimming: Use small scissors or thread snips to trim away stray fibers.
- Heat application: A cool iron, mini crafting iron, or even hair straighteners (for flat pieces) can smooth down fuzz.
- Electric shavers or lint removers: These can remove extra fuzzies if your piece is densely felted.
- Tiny pokes: Use very small, shallow pokes all over the surface as a final step.
Advanced Tips
- When layering colored wool over your core, ensure it’s spread evenly and remove any vegetation or blobs.
- Avoid harsh edges when layering wool—blend the edges of different sections carefully.
- For merino tops, consider fluffing them between your fingers to create fibers going in different directions for easier felting.
- Some felters use a diluted glue spray solution, though this is less commonly recommended.
Conclusion
With practice, your technique will improve, resulting in naturally smoother finishes. Remember that achieving a truly smooth finish is a systematic process that combines proper wool selection, appropriate needles, correct technique, and finishing methods.
