Needle Felting FAQ:

needle feltinghow to do needle felting?

Needle felting is done by repeatedly piercing the wool fibers with a barbed needle to shape the wool into the shape you desire.
If you are a beginner in needle felting, woohuu will explain in detail from tools and materials to animal modeling cases. You can master the needle felting technique by learning the needle felting tutorial! The needle felting tutorial includes: high-definition illustrations, video demonstrations and FAQs. If you don’t know much about needle felting, you can browse:What is needle felting?
Needle Felting Video Tutorial
first step:Prepare materials and tools
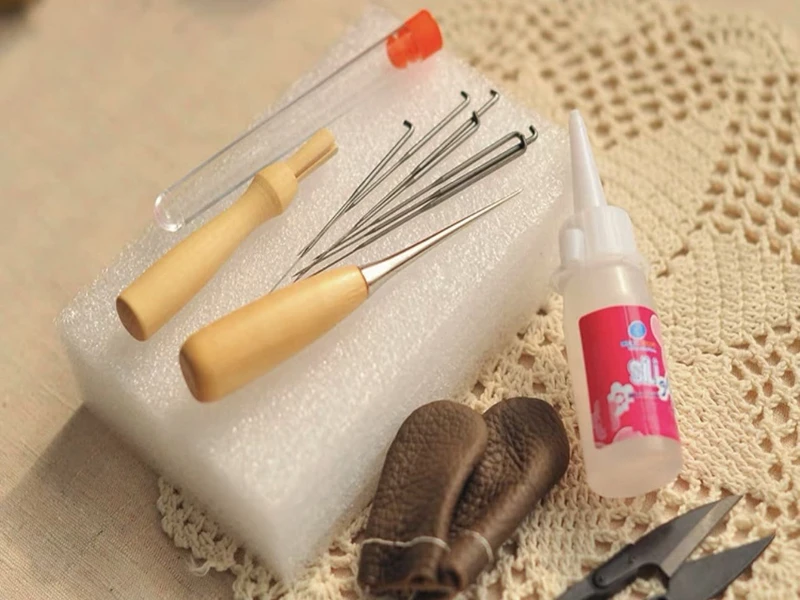
Needle felting materials and tools preparation includes:
- Wool: It is recommended to choose fine or medium-fine wool strips or wool cotton. Multi-color matching makes creation easier.。
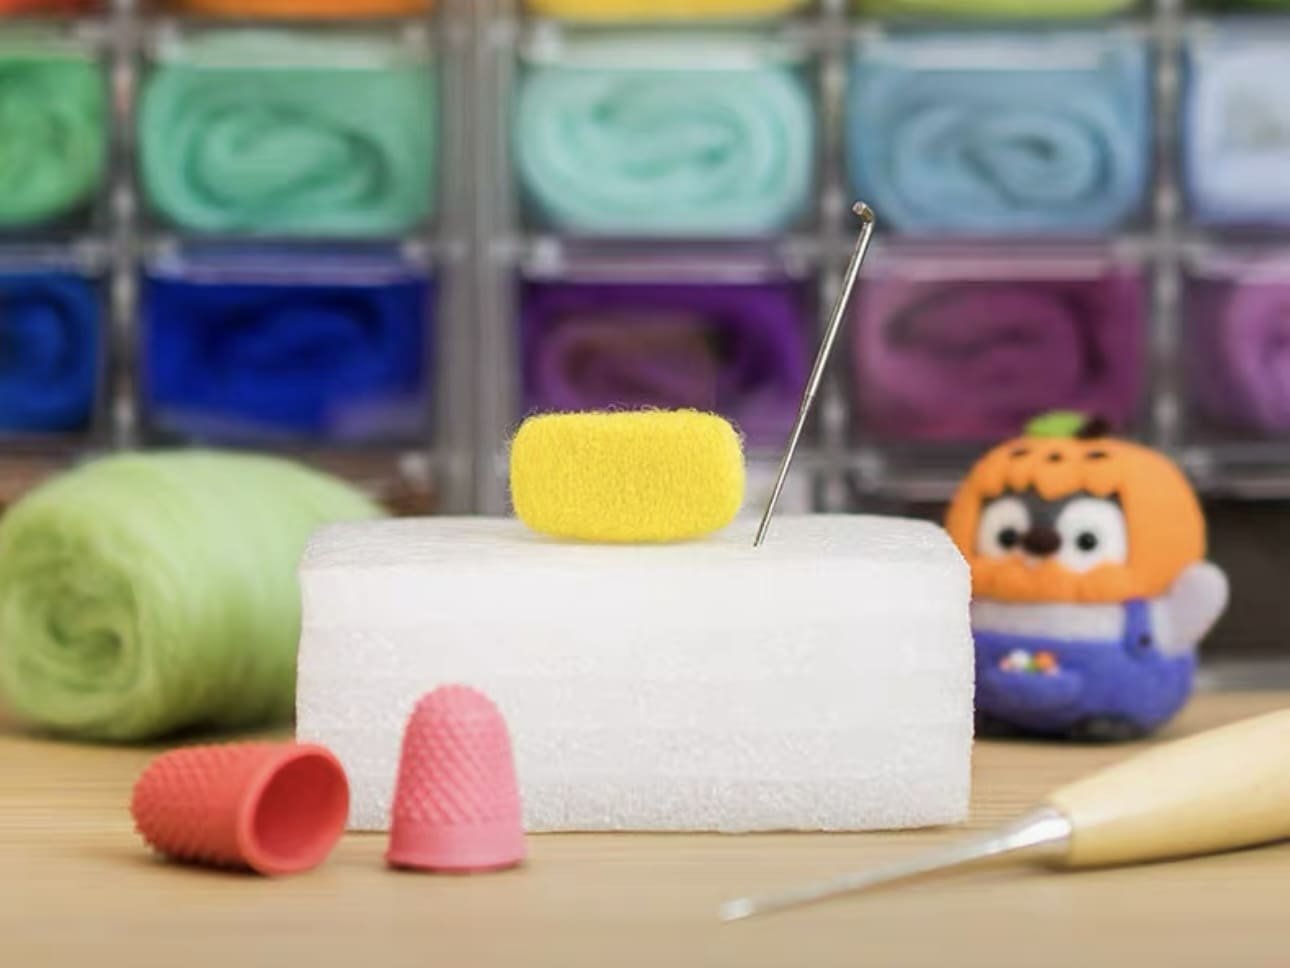
- Felting needles: You need to prepare felting needles of different thicknesses (36-gauge thick needles are suitable for base laying, 38-gauge medium needles are suitable for shaping, and 40-gauge thin needles are suitable for detail processing). It is recommended that needle felting beginners purchase a combination pack of various specifications.
- Work pad: Use brush pad, wool pad or wool pad to protect the table and needles, which can effectively protect the needles and work surface.
- Needle handle/multi-needle tool (optional): convenient for long-term operation or quick styling of large areas.
- Finger Coats (optional): protect your fingers and reduce the risk of needle stick injuries.
- Beginner Needle Felting Kits (optional): contains basic materials, tools and needle felting tutorial for beginners, suitable for beginners.
These basic materials and tools will cover most needle felting introductory and creative needs.
Needle Felting Kits
Detailed explanation of basic needle felting techniques
Basic needle felting techniques mainly include the following aspects:
- Basic poking method: Use the felting needle to repeatedly poke the wool vertically to form the wool into the desired shape. This is the core skill of all needle felting techniques.
- Rolling and shaping method: first roll the wool into basic shapes such as spheres and cylinders, and then use the piercing method to shape it.。
- Layered wool method: When working on a large area or flat surface, spreading the wool in layers and then piercing it can make the work more uniform and firm.
- Splicing and connection: After different parts (such as head, limbs, clothing, etc.) are made separately, the wool of each part is fully entangled by stabbing.
- Surface modification and detail processing: The last step is to use a fine needle to finely modify the surface, add texture, or use different colors of wool to add details such as mouth, eyes, nose, etc.
These basic techniques are the key to getting started in needle felting, and once mastered, you are free to create a variety of works.
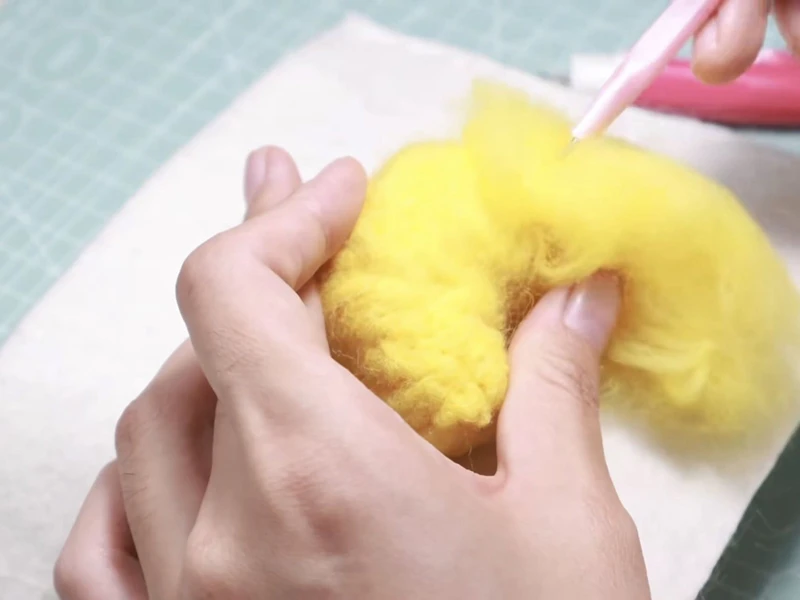
Color Matching and Decorating Advanced Tips
- Laying Wool Implantation Technique: adding tiny bundles of wool on top of the base area to simulate the effect of hairs
- Combining wool blending techniques: mixing different types or colors of wool to create rich textures and color effects.
Once you have mastered these basic needle felting techniques, you will be ready to start creating a variety of adorable felted wool creations. As you gain experience, you can also explore more advanced techniques, such as creating intricate animal figures, characters, or artwork.

Needle felting animal tutorial
- needle felting dog
- needle felting cat
- needle felting felt
Common problems and solutions of needle felting
- The wool is not easy to fix: the number of pricking is not enough or the wool quality is not suitable for needle felting. Increase the number of pricking or change the wool
- The surface of the work is uneven: use a fine needle for surface treatment
- Finger pain or puncture: Use finger sleeves or needle handle tools to effectively protect your fingers



Sophia Anderson
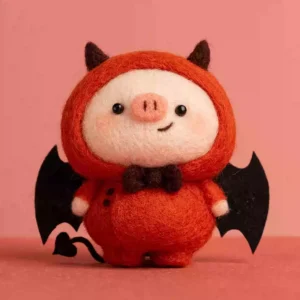
This is my second time buying needle-felting products, and I’ve found the experience to be very interesting and rewarding.