Needle Felting Faqs
How to Get Rid of Needle Marks in Felting
Needle felting allows for the creation of beautiful sculptures and textiles, but one common challenge for both beginners and experienced felters is dealing with needle marks—those visible holes and indentations that can detract from the final appearance of a piece. Fortunately, with the right techniques, materials, and finishing methods, these marks can be minimized or even eliminated entirely. This guide explores various approaches to achieving a smooth, professional finish in your needle felting projects.
Understanding Needle Marks and Their Causes
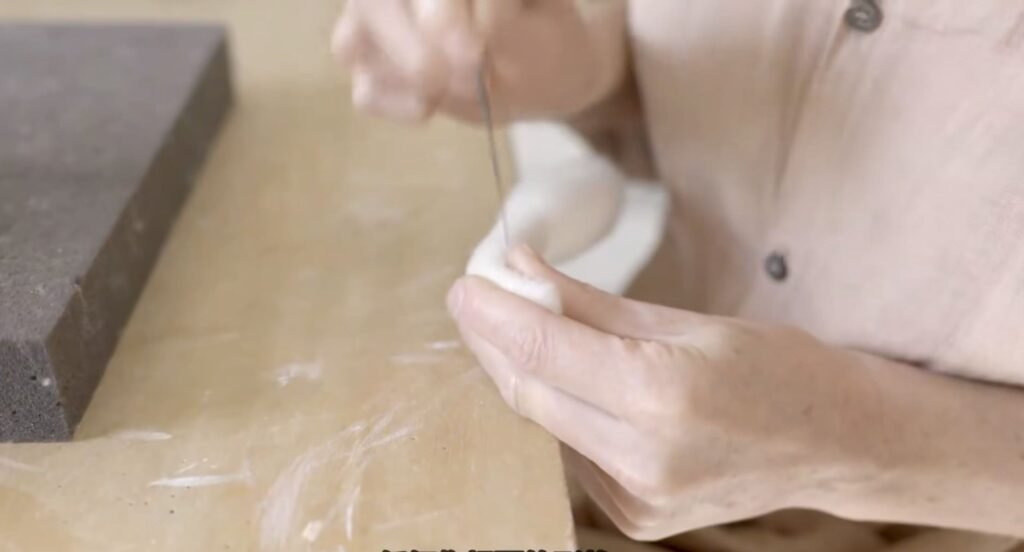
Needle felting works by repeatedly stabbing wool fibers with a barbed needle, which entangles and compresses them into a dense fabric. Unlike sewing needles, felting needles have notches along their shafts that catch and push fibers as they penetrate the wool. While this process creates the firm structure of felted sculptures, it also leaves behind small holes or indentations, especially when using coarser needles or applying too much pressure.
Needle marks become most noticeable on the outer layers of a project, where a smooth finish is desired. These indentations occur because the needle displaces fibers as it enters and exits the wool, and sometimes, those fibers do not fully return to their original positions. Understanding this fundamental issue is the first step in preventing and correcting needle marks.
Technique-Based Solutions
Adjusting Your Stabbing Approach
One of the most effective ways to reduce needle marks is by modifying your stabbing technique. When refining the surface, use shallow, quick stabs that barely penetrate the top layer of wool. Felters often describe this as a light “tack, tack, tack” motion, gently securing fibers without creating deep indentations.
For the smoothest finish, angle your needle slightly instead of stabbing straight down. This allows fibers to blend more naturally and prevents the harsh puncture marks that come from vertical stabbing. Regularly inspect your work from different angles to catch and correct any inconsistencies.
Using the “Drawing” Technique for Edges
Maintaining clean edges in felted pieces can be challenging, as excessive stabbing can lead to rough or fuzzy borders. One effective method is the “drawing” technique, in which you use your felting needle as if sketching the desired shape onto the wool. This controlled approach helps define crisp edges while minimizing unnecessary stabbing, which can create additional marks.
Choosing the Right Materials for a Smoother Finish
Layering Wool for Best Results
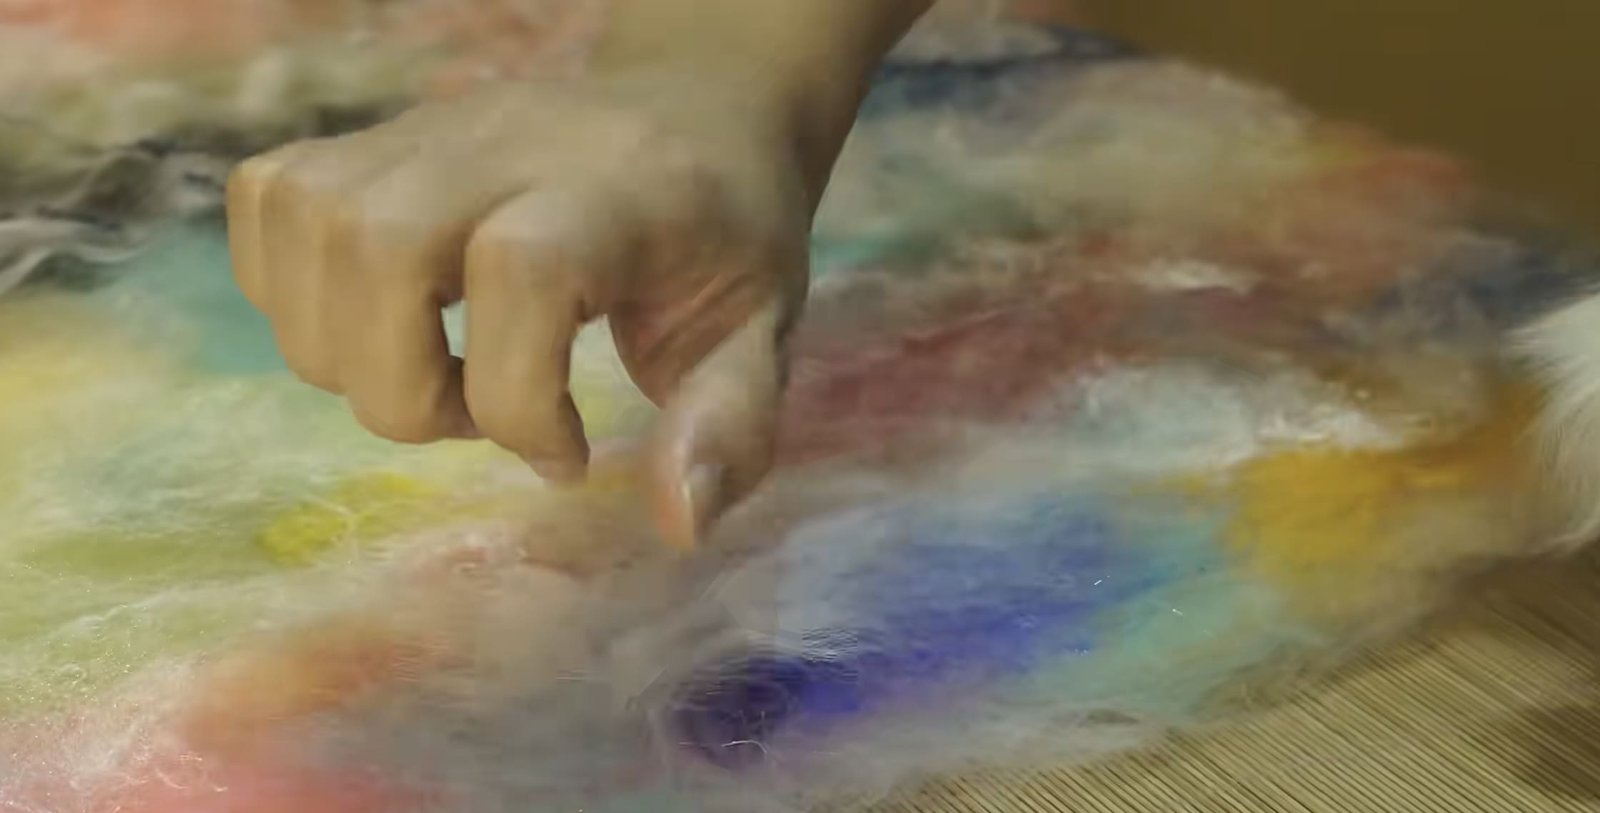
A strategic approach to material selection can significantly improve the surface quality of your project. Many felters recommend a two-layer system:
- Use a firm, inexpensive core wool for the internal structure.
- Apply a finer, softer wool for the outer layer, where a smooth finish is most important.
Carded batting, such as Perendale wool, is often preferred for final layers, as it blends seamlessly and reduces visible marks. Short-staple wools with natural crimp also help fill in small holes and create a polished look.
Choosing the Best Wool Type
The type of wool you use directly affects how noticeable needle marks will be. Some felters find that certain batts, like MC1 wool, provide a smoother surface because the fibers interlock more evenly. For a flawless finish, many professionals use merino wool tops, though these require careful handling with fine needles to avoid creating additional marks.
Selecting the Right Tools for a Flawless Finish
Needle Size and Type
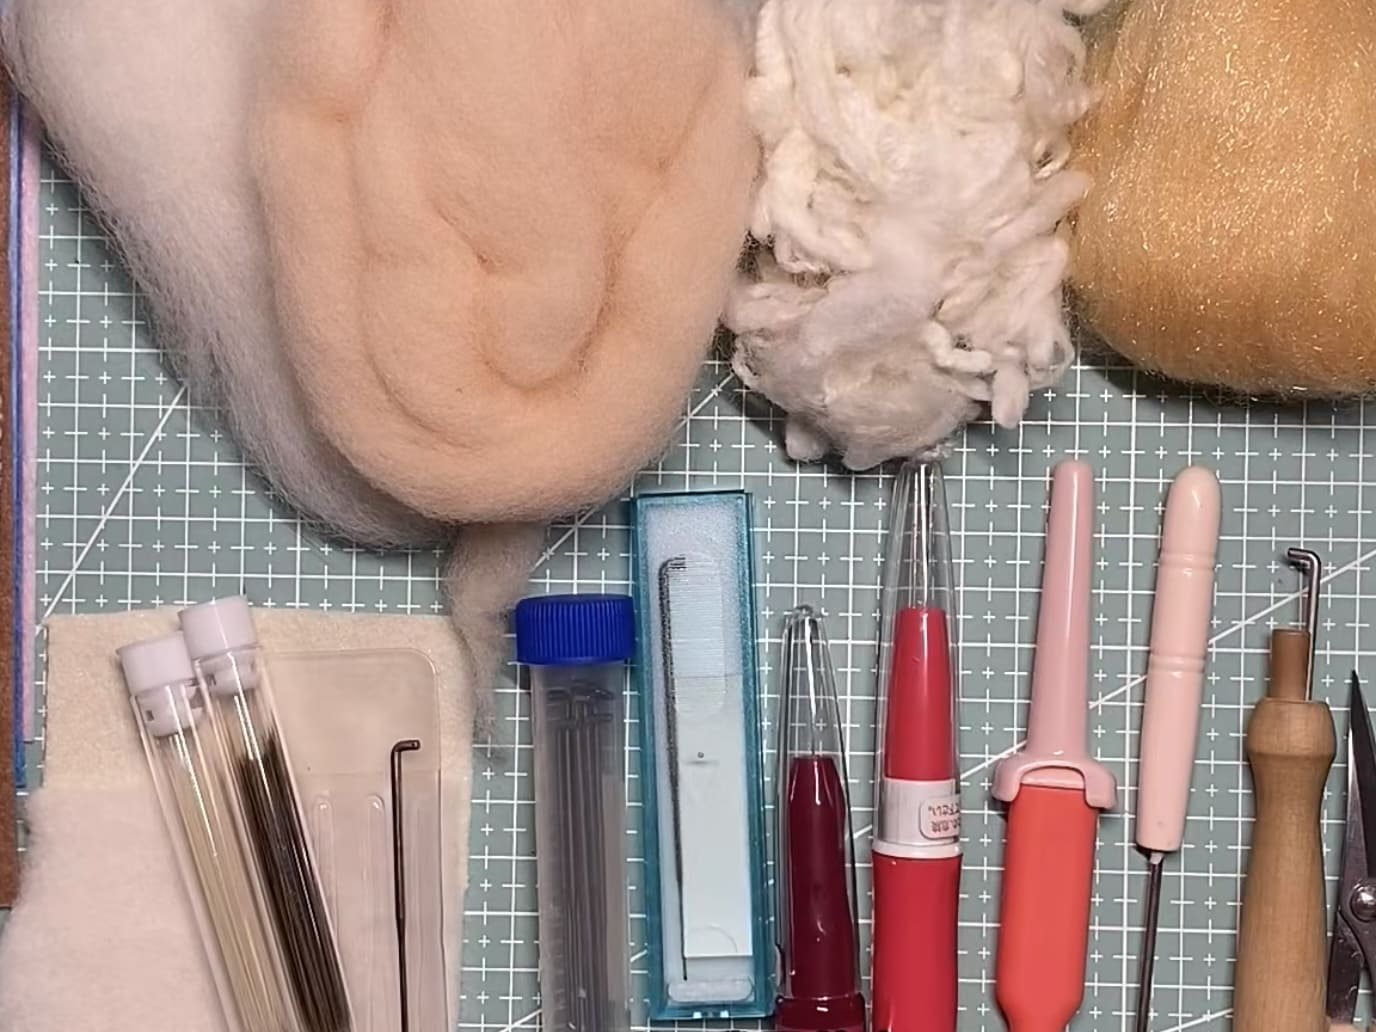
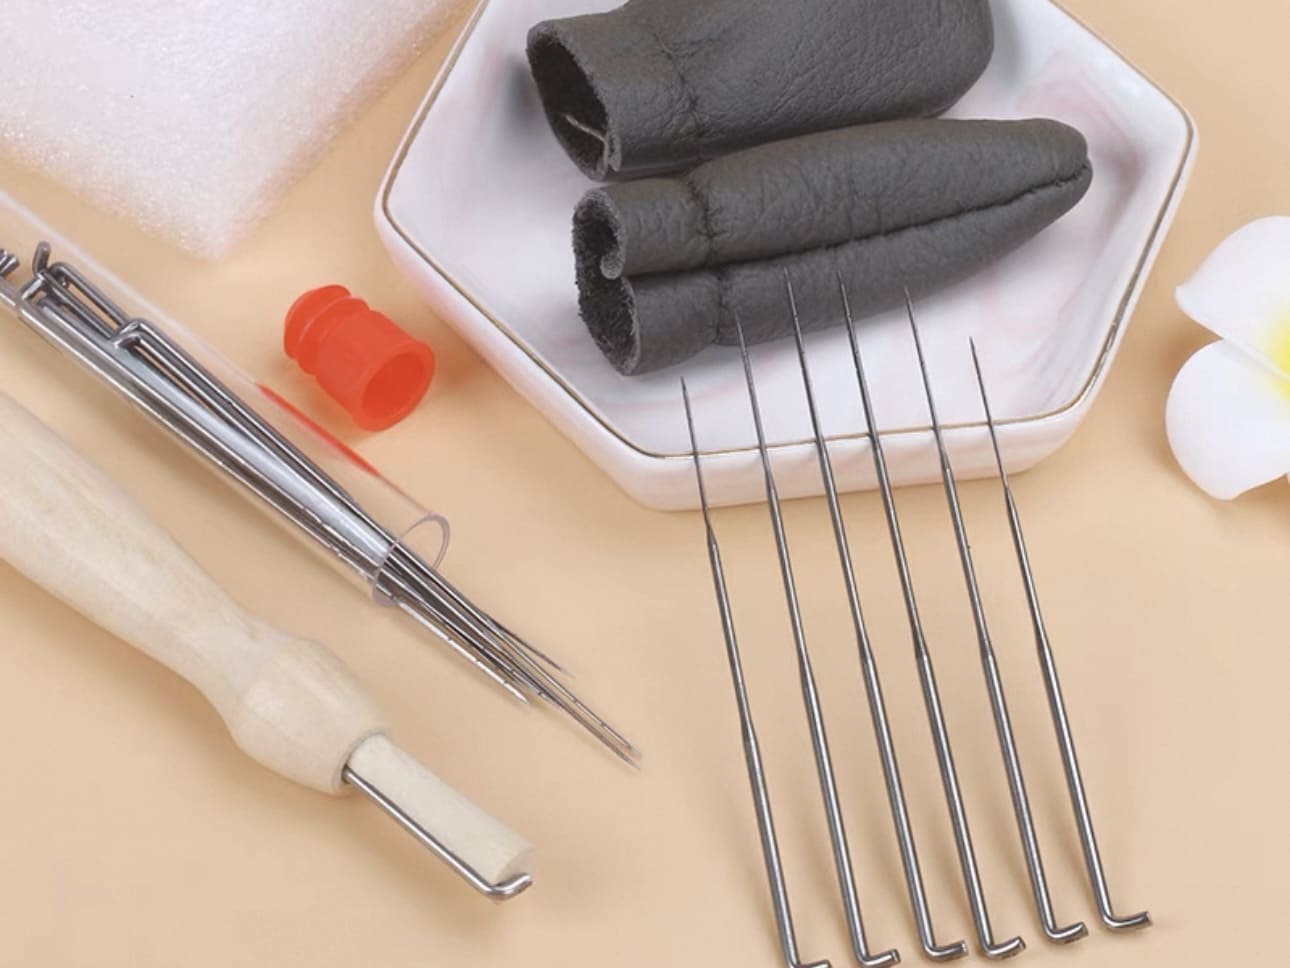
Using the appropriate needle at each stage of the felting process is crucial for minimizing marks. Coarse needles (36-gauge and lower) are great for shaping but leave noticeable holes. When refining the surface:
- Switch to finer needles (40-gauge or higher) to minimize fiber displacement.
- Use twisted or star-shaped needles, which encourage fiber blending with less visible impact.
Specialized Tools for a Smoother Surface
A few additional tools can help improve the final texture of your piece:
- Needle brushes gently blend surface fibers without excessive stabbing.
- Small soft brushes can smooth detailed areas.
- Multi-needle tools with fine needles distribute the felting motion more evenly, reducing concentrated marks.
Finishing Techniques to Remove Needle Marks
Incorporating Wet Felting
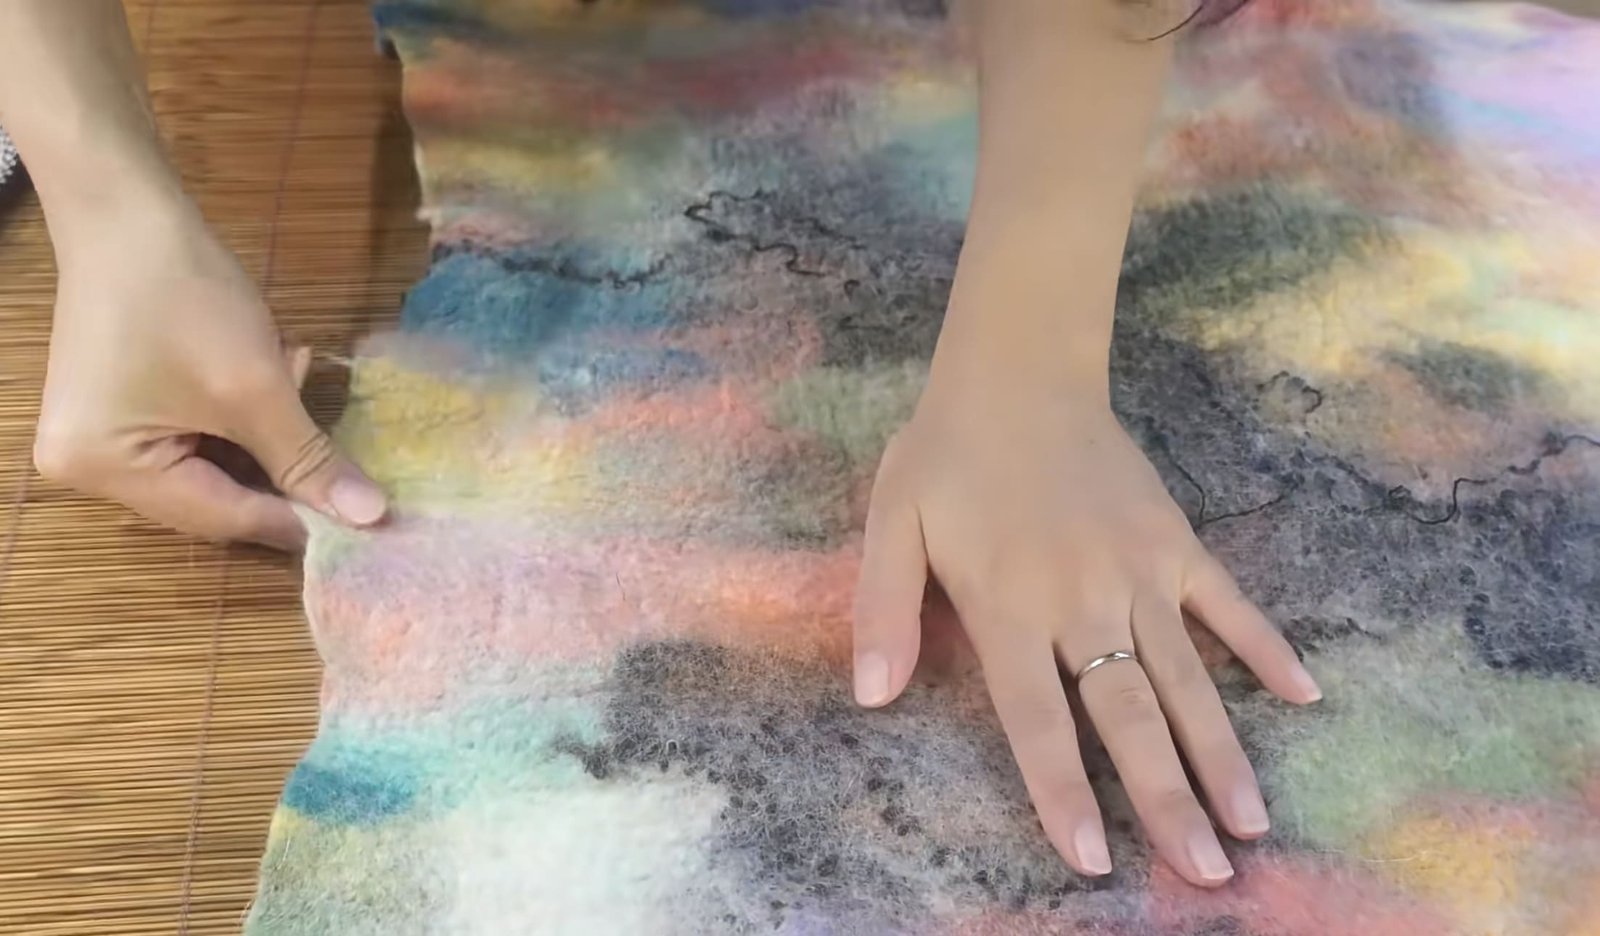
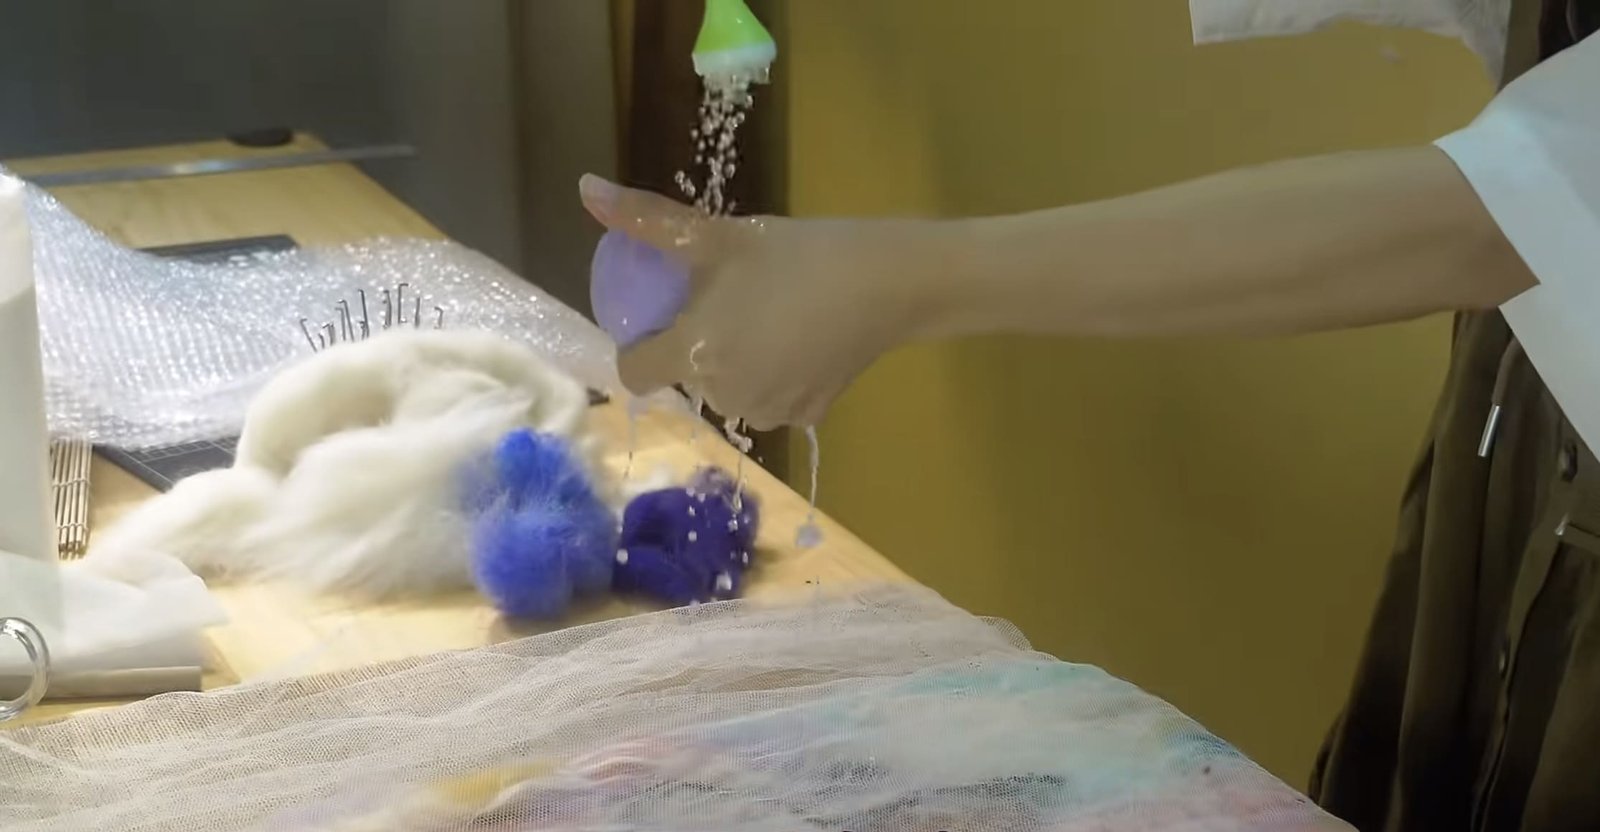
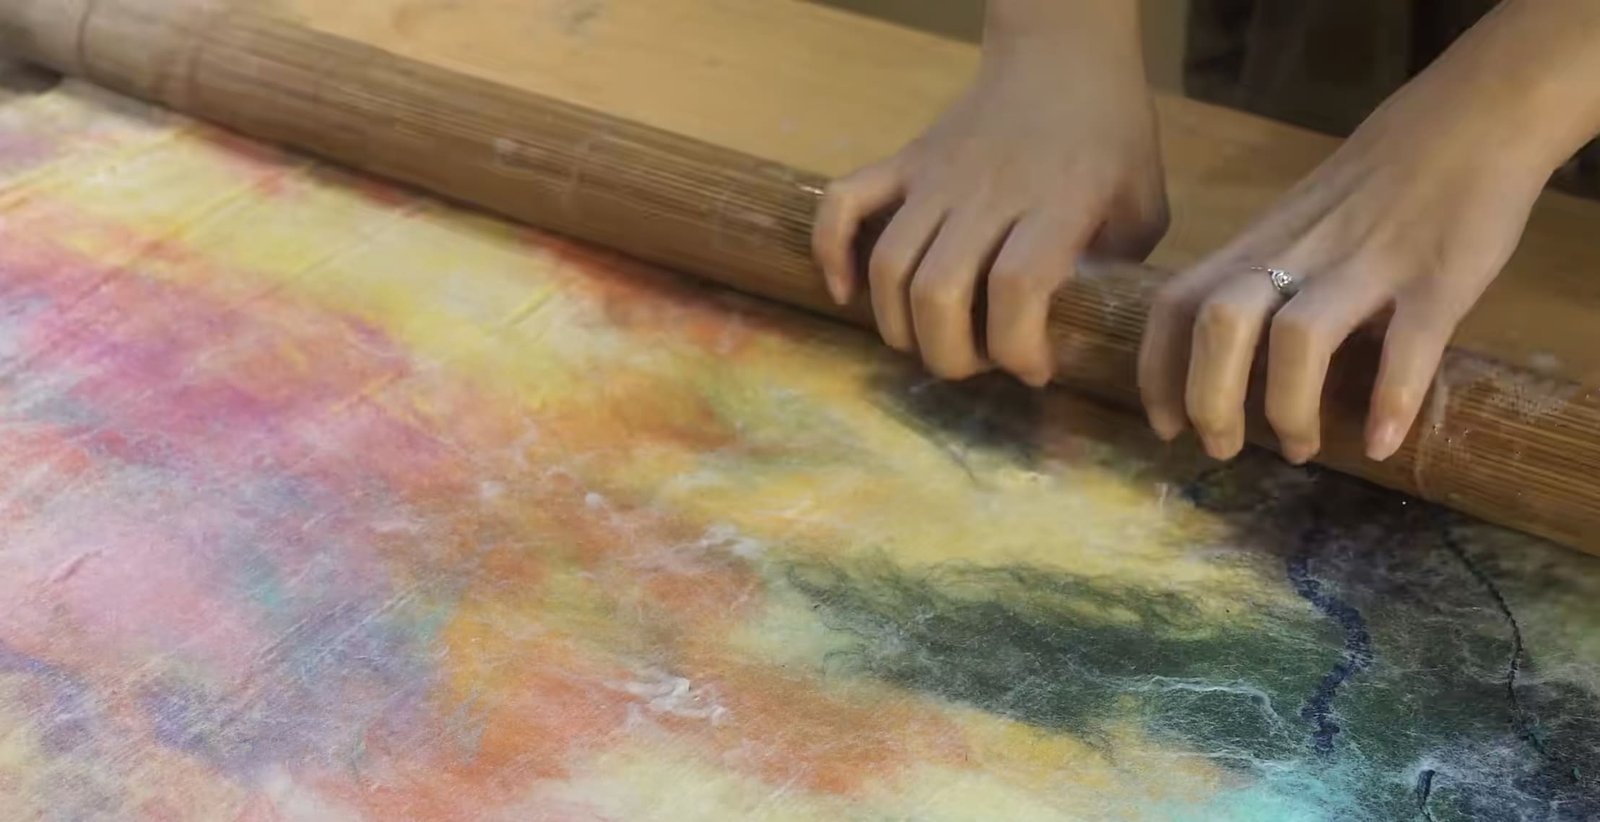
One of the most effective ways to eliminate needle marks entirely is by using wet felting as a final step. Lightly wetting and rubbing the surface of a needle-felted piece can encourage fibers to mesh more smoothly. Some felters even recommend briefly soaking or steaming a completed sculpture to blend fibers and reduce visible holes.
Gentle Surface Refinement
When working with the final visible layer, approach felting with an ultra-light touch. Using a fine 40-gauge needle and barely penetrating the wool can help “coax” fibers into place rather than forcing them together, reducing the appearance of puncture marks.
Post-Felting Surface Maintenance
Even after achieving a relatively smooth finish, small imperfections may still appear. Instead of stabbing more aggressively, try these alternatives:
- Lightly dampen your fingertips and smooth the surface by gently rubbing the fibers.
- Use tiny scissors to carefully trim stray fibers or fuzz.
- Press the surface gently with your fingers to even out indentations.
Conclusion
Eliminating needle marks in felting requires a combination of technique, material selection, and proper finishing methods. By adjusting your stabbing approach, working with the right wool types, using finer needles, and incorporating gentle finishing techniques, you can achieve a beautifully smooth surface.
With patience and practice, your needle felting projects can showcase flawless craftsmanship, ensuring that attention is drawn to your artistic details rather than the mechanics of the process. Take your time in the final stages, as the effort put into refining your piece will be evident in the polished, professional-quality results.
